
DIY Raised Garden Beds for Maximum Harvest
Table of Contents
Introduction about DIY Raised Garden Beds
So you want to grow your own vegetables but your yard’s soil is basically concrete? Or maybe you’re tired of playing tug-of-war with weeds every weekend? Let me tell you about DIY raised garden beds – they’re honestly a game-changer, and building them yourself is way easier (and cheaper!) than you’d think.
I’ve seen so many friends transform their sad, patchy backyards into these amazing little veggie paradises just by throwing together some raised beds. Whether you’ve been gardening for years or you’re just now thinking “hey, maybe I should grow my own tomatoes,” building your own raised beds gives you total control while keeping more money in your pocket compared to those crazy-expensive pre-built ones at the garden center.
Here’s the thing about DIY raised beds – they basically solve all those annoying problems that make traditional gardening such a pain. Crappy soil? Fixed. Water pooling everywhere? Not anymore. Back hurting from all that bending? Gone. Let’s dive into everything you need to know to build beds that’ll actually last and pump out vegetables like crazy. Make your DIY projects easier and more fun.
Why Raised Garden Beds Are Essential for Gardening Success
Look, I’m not just jumping on some trendy gardening bandwagon here. Raised beds actually fix a bunch of problems all at once, which is why every experienced gardener I know swears by them.
Improved Soil Quality and Drainage
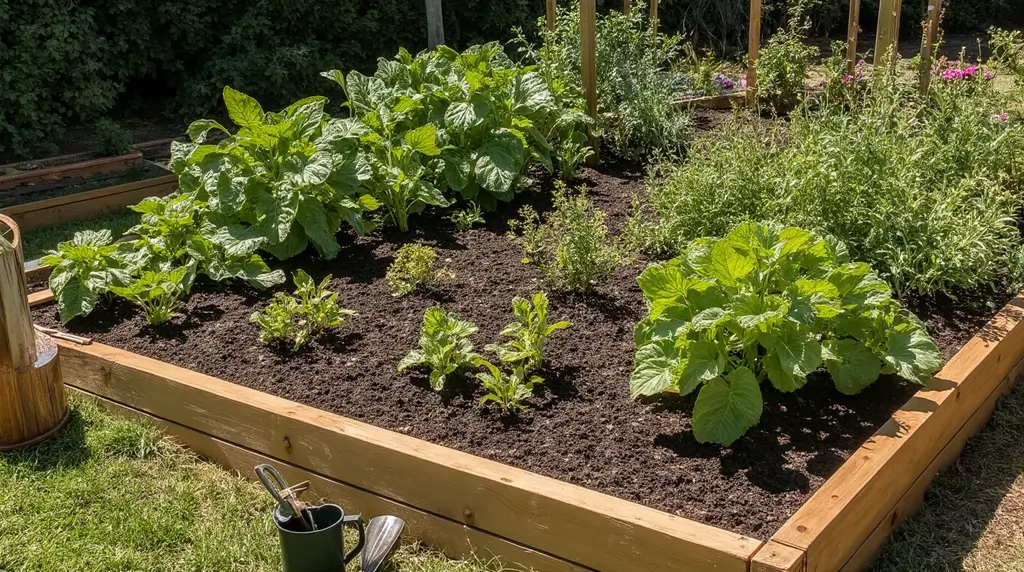
This is probably my favorite part – you get to be the boss of your soil. Unlike regular in-ground gardening where you’re stuck with whatever clay-like disaster exists in your yard, raised beds let you build the perfect growing environment from scratch. You can mix in exactly what your plants need, add tons of compost, and create this fluffy, nutrient-rich paradise that vegetables absolutely love. The difference in your harvest will blow your mind.
And drainage? Don’t even get me started. Water just flows through naturally, so you won’t deal with that gross waterlogged soil that basically drowns your plants’ roots. Plus, since you’re never actually walking on the soil in raised beds, it stays nice and loose instead of getting packed down like a parking lot.
Ergonomic and Accessible Gardening
Can we talk about how much easier this is on your body? If you build your beds waist-high, you basically eliminate all that bending and kneeling that makes you feel like you’re 90 years old after an afternoon in the garden. My neighbor has some mobility issues, and raised beds totally changed the game for her – she can actually garden independently now.
A lot of people build them around 24 inches high, which is perfect because you can literally just sit on the edge while you’re planting or weeding. Your back will send you a thank-you card, I promise.
Pest and Weed Management
Here’s a trick that’ll save you hours: put down some cardboard or landscape fabric at the bottom before you fill your beds. Seriously, this one simple step cuts down weeds by like 90%. You’ll actually have time to enjoy your garden instead of spending every Saturday pulling weeds.
The height also keeps out a lot of the ground-dwelling pests – slugs, snails, and those mysterious creatures that nibble your lettuce overnight. I mean, squirrels are still gonna be squirrels (nothing stops those guys), but you’ve already eliminated a ton of other pests just by building up.
Extended Growing Season
This is kind of cool – the soil in raised beds warms up way faster in spring than regular ground soil. That means you can plant earlier and harvest later, basically squeezing a few extra weeks out of your growing season. More harvest time = more vegetables. It’s pretty simple math.
Aesthetic Appeal
Okay, this might sound shallow, but raised beds just look really good. They give your yard this organized, intentional look with clean lines and defined spaces. Instead of a random sprawl of plants, you’ve got these beautiful green zones that honestly make your whole outdoor space look more put-together.
Choosing the Right Materials: Budget vs. Longevity
Alright, this is where you’ve gotta make some decisions. Do you want beds that’ll last forever, or are you trying to keep costs down? Both approaches totally work – it just depends on what matters more to you right now.
Top Wood Choices for DIY Beds
Cedar and Redwood
These are the fancy options, but there’s a reason everyone loves them. They’ve got natural oils that basically tell rot and insects to buzz off, so they can last seven years or more without any treatment. Cedar fence planks are actually pretty affordable and super easy to work with, so this might be the sweet spot if you can swing it.
Douglas Fir
If cedar’s a bit too pricey, Douglas fir is a solid middle option. It’s not quite as rot-resistant, but it’ll definitely outlast regular pine and won’t totally wreck your budget.
Untreated Pine
This is the budget-friendly choice – you’re looking at around $45 in lumber for a standard 4’x8′ bed. Yeah, it won’t last as long as cedar, but here’s a pro tip: slap some linseed oil on it (food-safe, don’t worry), and you can basically double how long it lasts. Not too shabby.
Resourceful Options: Fence Pickets and Reclaimed Materials
When lumber prices went bonkers a while back, everyone started using fence pickets – they’re thin and cheap but work great for smaller beds. Or get creative with reclaimed pallets or old fence boards if you’ve got access to them. Just make sure they weren’t treated with anything sketchy.
Critical Material Warnings
Never Use Pressure-Treated Lumber
I know it’s tempting because it’s cheap and everywhere, but please don’t use pressure-treated wood for vegetable beds. The chemicals they use to treat it can leach into your soil over time, and then you’re basically eating those chemicals. Not worth it when you’re trying to grow healthy food.
Always Use Galvanized Fasteners
Don’t cheap out on nails and screws – regular ones will rust out in like a season. Grab some galvanized nails (3″ to 4″ long) or deck screws. It’s a small extra cost that’ll save you from having to rebuild everything in a year.
Detailed DIY Construction Plans
Let’s get into the actual building part. I’m gonna give you a few different plans depending on what you’re working with.
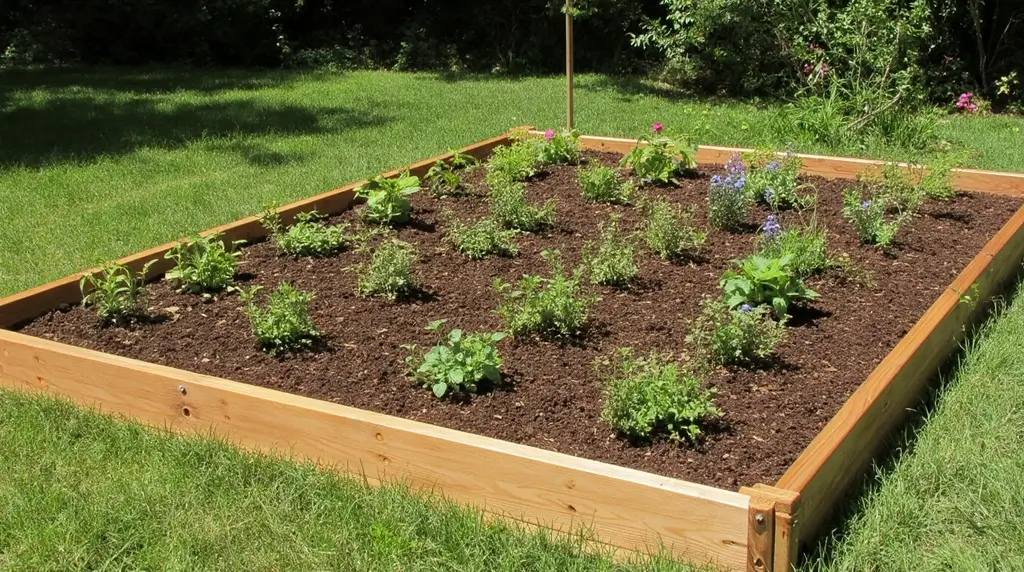
Quick & Cheap Fence Picket Raised Bed (6′ x 3′ Example)
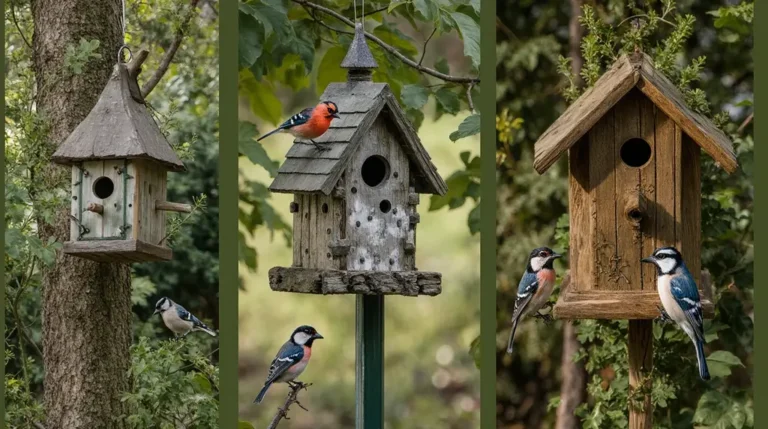
This one’s perfect if you’re on a tight budget or just want to dip your toes in before committing to something bigger. you might also like our guide on Creative DIY Birdhouses to Attract Backyard Birds.
What You’ll Need:
- 6 fence pickets (5/8″ x 5 1/2″ x 6′)
- One 8-foot 2×2 board
- 1-5/8″ wood screws
How to Build It:
First, cut off those decorative pointy tops on the fence pickets so you’ve got straight edges. Then cut your 2×2 into six pieces about 11 inches long – these are gonna be your corner and side supports.
Now just screw two layers of pickets onto those 2×2 braces, working your way around until you’ve got a box. The two-picket height gives you enough depth for most veggies without breaking the bank. Easy peasy.
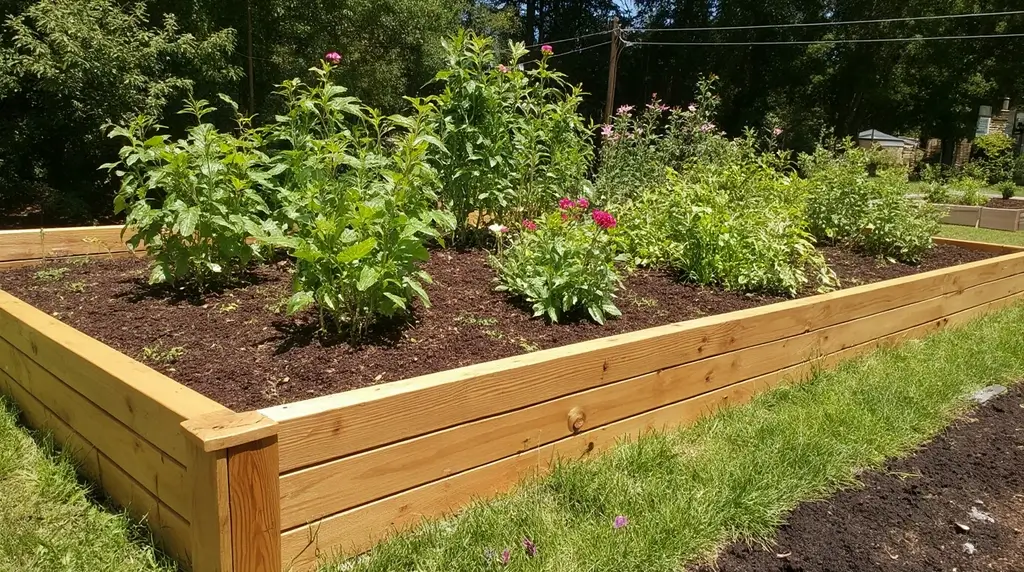
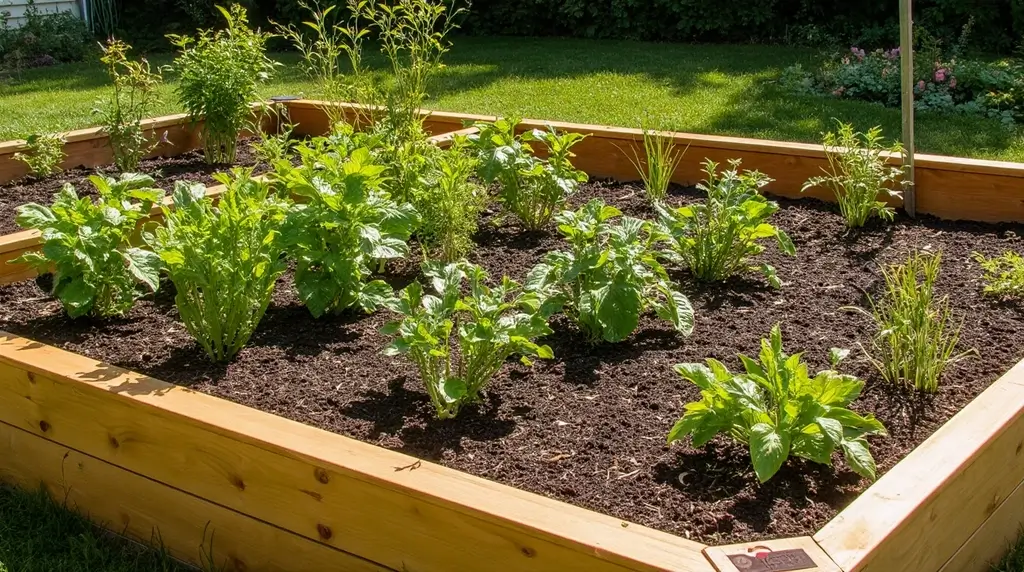
Standard 4’x8′ Bed Using 2x12s
This is probably the most popular size – big enough to grow a serious amount of food but not so huge that you can’t reach the middle.
How Tall Should It Be?
Shoot for 18 to 24 inches when you’re done. You need at least 12 inches for good root growth, but going taller makes it easier on your back and lets you layer your soil better.
Shopping List (for one 4’x8′ bed, 24″ tall):
- Four 2″x12″x8′ boards (for the long sides)
- Two 2″x12″x8′ boards (you’ll cut these into four 4-foot pieces for the short sides)
- Some 2×4 lumber cut into 16-inch or 24-inch pieces for corners
Putting It Together:
Start by attaching your boards to corner pieces on the inside. For extra stability (which you definitely want when this thing’s full of wet soil), use some sturdy 4″x4″ posts at the corners and screw everything into those. Trust me, you don’t want corners separating when your bed’s holding hundreds of pounds of soil.
Structurally Sound Construction Tips
Keeping It Anchored
Let your corner pieces stick out below the bottom board a bit, then hammer those suckers right into the ground. Or – and this is kind of clever – build the whole thing upside down, then flip it over so the supports naturally sink into the earth. Works like a charm.
Stopping the Sides from Bowing
If your bed’s longer than 6 feet, you absolutely need to add some cross-supports in the middle. Otherwise, all that heavy soil will slowly push the sides out, and eventually you’ll have a mess on your hands.
Making Sure It’s Level
Level ground is key. Use a long level to check your frame once it’s in place – if water pools in one corner, you’re gonna have problems with uneven moisture and sad plants.
Advanced Tips for Maximizing Lifespan and Protection
Wanna take this from “good enough” to “holy cow, these beds are still perfect after 10 years”? Here’s how.
Serious Pest Protection
Put some hardware cloth (that’s metal mesh, not actual cloth – confusing name, I know) at the very bottom under your landscape fabric. This stops moles and voles from tunneling up into your beds and destroying your root vegetables. Those little jerks can do some serious damage.
Making Your Wood Last Forever
Slap on some water-resistant, UV-resistant wood stain before you even install the beds. This protects against moisture and sun damage – the two main things that’ll destroy your wood.
Here’s another trick: line the inside walls with heavy plastic sheeting up to where your soil will be. This keeps the wood from direct contact with wet soil while still letting the top part breathe. And keep your soil level about an inch below the top edge so it’s not constantly soaking the frame.
Check-Ups Are Important
Once a year, walk around and check for loose screws or warped boards. Tighten things up and replace anything that’s looking sketchy before it becomes a real problem. If corners start separating, some metal brackets can fix that right up.
Site Preparation and Optimal Soil Filling
This is where a lot of people rush through, but it’s honestly super important. Do this part right and everything else gets easier.
Site Preparation and Weed Suppression
Picking Your Spot
Find somewhere that’s reasonably level and gets at least four hours of sun. Most veggies want six to eight hours, but even shadier spots can grow lettuce and herbs just fine.
The Cardboard Trick
Break down some cardboard boxes and lay them flat right over your grass or whatever’s there. This is your weed barrier, and it’s basically free. It smothers existing weeds and then decomposes over time to feed your soil. Win-win. Some people go all fancy with the “lasagna gardening” method, layering cardboard with newspaper and organic stuff, which works great if you’re into that.
Making Sure Water Drains
Adding a Drainage Layer
Toss about 3 inches of rocks or gravel at the very bottom before you add soil. This keeps water from sitting at root level, which can drown plants and cause all sorts of diseases.
Drainage Holes for Tricky Situations
If your ground’s really hard or your bed isn’t super tall, drill a few holes in the back panel. This gives excess water somewhere to go instead of turning your bed into a swamp.
The Ideal Raised Bed Soil Mix Recipe
Don’t skimp on soil – this is where the magic happens. Good soil = amazing vegetables. Bad soil = disappointing vegetables. It’s that simple.
Saving Money on Fill
For the bottom half of really deep beds, use cheap stuff like chopped up branches, twigs, or leaf mulch. It’ll decompose slowly and you won’t have to buy as much expensive soil mix.
The Good Stuff for the Top:
Mix equal parts of:
- Garden soil (the kind with sand, compost, and mulch mixed in)
- Quality compost (chicken, cow, or mushroom compost all work great)
- Vermiculite (helps with moisture and keeps things fluffy)
- Coir (that’s coconut fiber – adds structure and drainage)
The Easier Version:
Lots of people just do 50/50 topsoil and compost, then throw in four bags of well-aged manure per bed. Just one warning: make absolutely sure your manure source didn’t use persistent herbicides like Grazon. That stuff can stick around and totally wreck sensitive crops like tomatoes. Not fun.
Enhancing Your Space: Adding a Connecting Garden Bench Seat
Okay, this is just cool. If you’re building two beds, you can connect them with a bench seat using leftover materials. It costs almost nothing but makes your garden feel like an actual outdoor room.
Why This Rocks
You get a comfy spot to sit while you’re planting or harvesting, and it uses the beds’ own structure for support. Plus it just looks really nice – very “intentional garden design” vibes.
What You’ll Need:
- Four 4-foot cedar plank fence boards
- Three 5-foot cedar plank fence boards
- Three 2x4s cut to match your bench width
Building It:
Screw the longer planks directly to your existing beds, overlapping them in front to create the seat. Add those 2×4 supports between the beds for extra stability. The bench basically bridges everything together.
Finishing Touches:
Sand down any rough edges so you don’t get splinters, then either stain it to match your beds or just leave it natural for that rustic weathered look. Both ways look awesome.
Conclusion: Your Path to Abundant Harvests
Here’s the deal – building DIY raised garden beds is honestly one of the best projects you can tackle. Better growing conditions, way easier on your body, longer growing season, and seriously impressive vegetable harvests. What’s not to love? you might also like our guide on How to Build a Raised Garden Bed easy.
Whether you go budget-friendly with fence pickets or splurge on cedar, the basics are the same: build it sturdy, use good soil, and pick a decent spot. The time you spend building properly now means you won’t be cursing yourself and rebuilding next year.
If you’re nervous about diving in, just start with one bed. See how it goes. I’m betting that by the end of the first season, you’ll be planning where to squeeze in two more. Once you experience harvesting vegetables from beds you built yourself, there’s really no going back. It’s just way better than traditional gardening, and the satisfaction of eating food you grew in something you built? That’s the good stuff right there.
Can I build a raised garden bed even if I have limited space?
Absolutely—raised beds can be customized to fit patios, balconies, or small yards. Narrow beds or vertical stacking options allow you to maximize space while still giving your plants room to grow. Even a small bed can produce a surprisingly large harvest.