
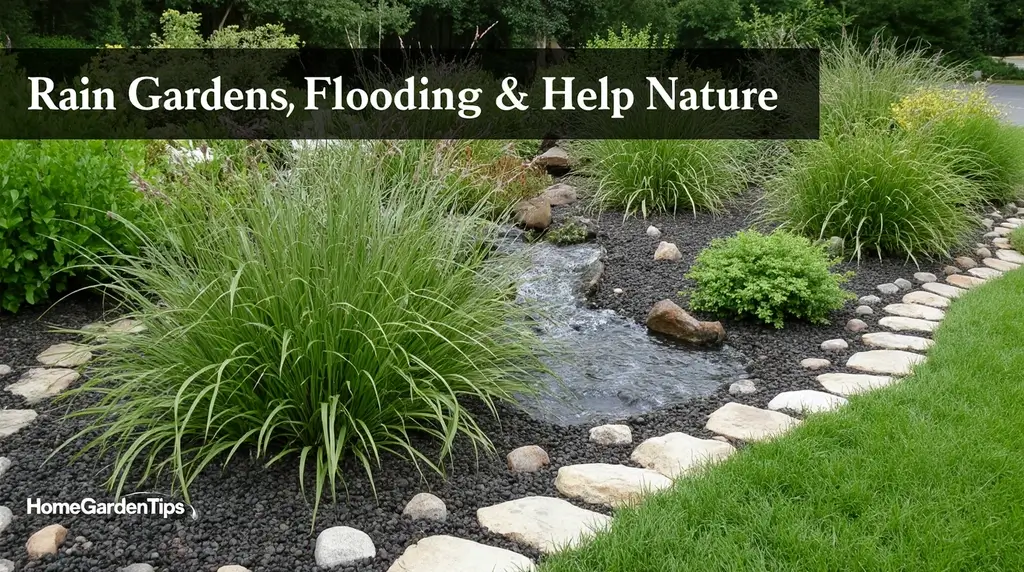
Rain Gardens: Control Flooding and Help Nature
Table of Contents
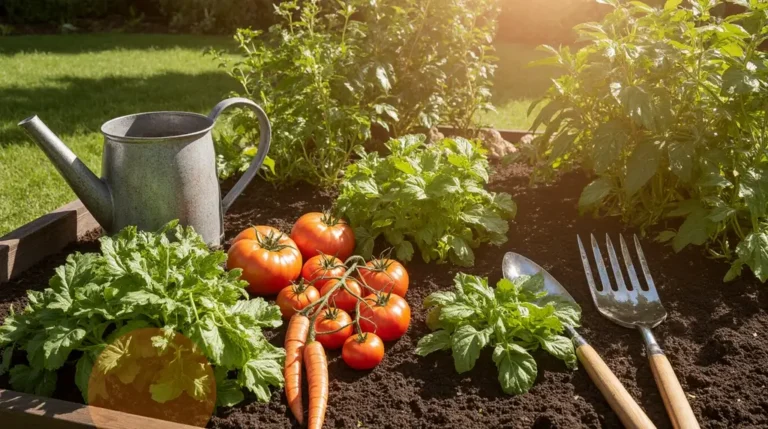
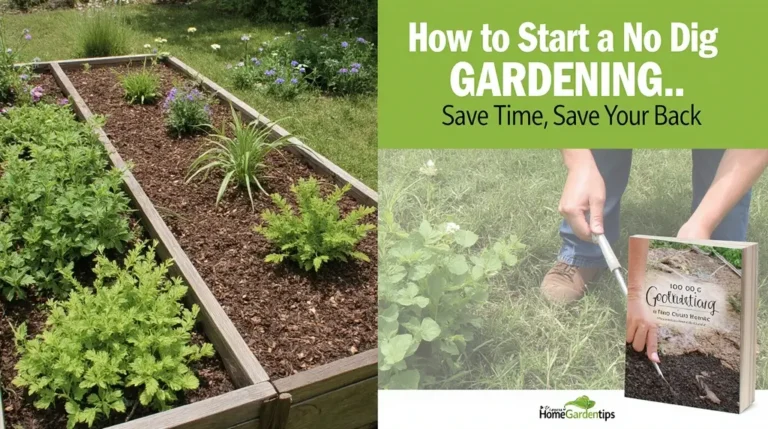
Ever watched rainwater turn your driveway into a mini river? Or noticed how your neighborhood seems to flood every time there’s a decent storm? Yeah, you’re not imagining things—and it’s not just annoying, it’s actually a pretty big environmental issue. But here’s the cool part: there’s this amazing thing called a rain garden that can totally fix the problem while making your yard look incredible. Trust me, once you understand how these work, you’ll wonder why everyone doesn’t have one. For a greener and more environmentally conscious garden, check out our How to Start a no dig gardening: Save Time, Save Your Back.
What is a Rain Garden and Why is it Essential?
Okay, so what exactly is a rain garden? Think of it as a shallow, bowl-shaped garden spot that’s specifically designed to catch and soak up rainwater runoff. It’s packed with native plants and set up to work like nature’s own water filter. Pretty neat, right?
Here’s what makes them special: unlike your regular flower bed that just looks pretty, a rain garden actually does something. It’s like having a mini wetland in your yard that grabs all that rushing stormwater and filters it before it causes problems. And the best part? Once you get it going, it basically takes care of itself.
The Problem: Understanding Impervious Surfaces and Urban Runoff
Let’s talk about why we even need these gardens in the first place. You know all those hard surfaces we’ve covered everything with—roofs, driveways, parking lots? Yeah, those are called impervious surfaces, and they’re kind of a problem. In nature, rain just soaks into the ground nice and slow. But in our neighborhoods? That water has nowhere to go.
So what happens? All that runoff picks up some seriously nasty stuff—motor oil, pet waste, fertilizer, pesticides, you name it. Then it rushes into storm drains and straight into our rivers and lakes without getting cleaned up at all. Not exactly ideal, especially if you like swimming or fishing in those waterways.
Plus, all that rushing water is what causes those flash floods that swamp streets and damage property. It’s basically a perfect storm of problems (pun totally intended).
7 Major Benefits of Installing a Rain Garden
Alright, here’s where rain gardens really shine. They’re not just about drainage—they’re environmental superheroes disguised as pretty landscaping:
Water Quality Enhancement: Those deep-rooted plants act like nature’s Brita filter. They trap pollutants and break down chemicals before that water ever reaches streams or groundwater. It’s honestly pretty amazing what plant roots can do.
Flood and Erosion Control: Rain gardens basically tell rushing stormwater to chill out. They slow it down, hold it for a bit, and let it drain gradually instead of all at once. That means way less flooding downstream and way less soil washing away from your yard.
Groundwater Recharge: Instead of water just disappearing into storm drains, it actually soaks back into the ground where it belongs. This keeps water tables healthy and streams flowing even when it hasn’t rained in a while.
Ecosystem Support: Here’s my favorite part—you’re basically creating a little wildlife sanctuary. Bees, butterflies, birds, and all sorts of beneficial insects absolutely love these gardens. It’s like setting up a nature café right in your yard.
Community Resilience: When your neighbors see what you’re doing and jump on board, the whole neighborhood becomes more flood-resistant. It’s one of those rare win-win situations where your project actually helps everyone around you.
Climate Mitigation: Rain gardens help cool things down (super helpful for those brutal summer days) and the plants capture carbon dioxide. So yeah, you’re basically fighting climate change from your backyard. Not bad for a DIY project!
Aesthetic Value: Let’s be real—a well-designed rain garden looks fantastic. It’s a total conversation starter, it shows you care about the environment, and it might even bump up your property value. What’s not to love?
Phase 1: Critical Planning and Site Assessment
Okay, before you grab a shovel and start digging (I know, it’s tempting), we need to do some planning. This is where you save yourself from potential disasters later.
Selecting the Ideal Location
Proximity to Runoff Source: You want to catch that water close to where it’s coming from—like near a downspout or at the bottom of your driveway. If you’re connecting to a downspout, keep it within 30 feet for the best results.
Distance from Structures (This One’s Non-Negotiable): Listen up, because this is super important: keep your rain garden at least 10 feet away from your house foundation. I know it might seem like a good spot right next to the house, but trust me—you don’t want water soaking into the ground near your foundation. That’s how you end up with basement problems and expensive repairs.
Note on Basements: Got a basement? You need even more distance. Start with that 10 feet, then add 2 more feet for every foot your basement goes down. So if your basement is 5 feet deep, you’re looking at 20 feet minimum. I know, it sounds like a lot, but your foundation will thank you.
Avoid Hazards: Before you dig anything, call 811 to mark your underground utilities. Seriously, do it. Also avoid spots with big tree roots (they’ll compete with your garden plants) and keep it at least 25 feet from your septic tank if you have one.
Slope Requirements: Put the garden downhill from wherever the water’s coming from—that’s just common sense. And make sure the garden spot itself isn’t too steep. Anything more than a 5% grade gets tricky.
Soil Testing and Infiltration Rate
Time for some dirt detective work! Your soil type makes a huge difference in how well this whole thing works.
Soil Identification: You’ve got three main types to worry about: sand (drains fast), loam (the Goldilocks soil—just right), and clay (drains super slow and can be a pain).
Test Method: Here’s an easy trick: grab some dirt, add water, and squeeze it into a ball. Sandy soil falls apart right away. Loamy soil holds together but then crumbles. Clay soil? That sucker stays in a ball. It’s like Play-Doh for grown-ups.
Infiltration Test: Dig a hole about a foot deep, fill it with water, and see how long it takes to drain. If water’s still sitting there after two days, you’ve either got to amend that soil big-time or pick a different spot.
Soil Amendment: For clay soil (or just to make things work better), mix in compost and maybe some sand. A good rule of thumb is one-third compost to two-thirds native soil. This helps water drain better without turning your garden into a desert.
Calculating the Optimal Size and Depth
Math time! Don’t worry, it’s not too complicated.
Sizing Rule-of-Thumb: Your rain garden should be about 15% to 20% of the area that’s draining into it. So if you’re catching runoff from a 500-square-foot roof, you’d want a garden that’s around 75 square feet.
Common Dimensions: Most rain gardens end up being between 100 and 300 square feet. But honestly? Even a small one makes a difference, so don’t let limited space stop you.
Depth: Dig the center about 4 to 8 inches deep. If your yard’s pretty flat (less than 4% slope), go for 5 inches. Steeper? Aim for 8 inches. This creates that bowl shape that holds and filters the water.
Phase 2: Step-by-Step Construction and Build-Out
Alright, now we’re getting to the fun part—actually building this thing!
Gather Tools and Supplies: Round up your shovels, stakes, string, a level, topsoil, mulch (get the good arborist woodchips if you can), compost, some sand, gravel, and of course your native plants. Having everything ready before you start saves you from annoying trips to the hardware store mid-project. If you’re interested in eco-friendly gardening, don’t miss our Sustainable Gardening Tips: How to Grow More with Less Water for more tips.
Mark and Excavate: Use stakes and string to outline your garden shape. (Flour or a garden hose works too if you want to get creative.) Then start digging from the center, creating that bowl shape. The sides should slope gradually—you’re not building a swimming pool here.
Construct the Berm: Here’s a pro tip: use all that dirt you just dug up to build a little wall (called a berm) around the edge. Make it 6-8 inches high and pack it down well. If you’re on a slope, build it higher on the downhill side so water doesn’t escape that way.
Install Soil Mix and Berm Protection: Mix your compost with garden soil and fill that bowl back up. Then cover your berm with grass seed or stones so it doesn’t wash away in the first big rain. Nothing worse than watching your hard work erode!
Create Inlets and Outlets: Channel water into the garden with a shallow trench or some rocks to slow things down. And here’s the crucial part: create an overflow spillway with rocks at the lowest edge point. This is your emergency exit for when you get a crazy storm. It keeps excess water from eroding your garden or heading toward your house.
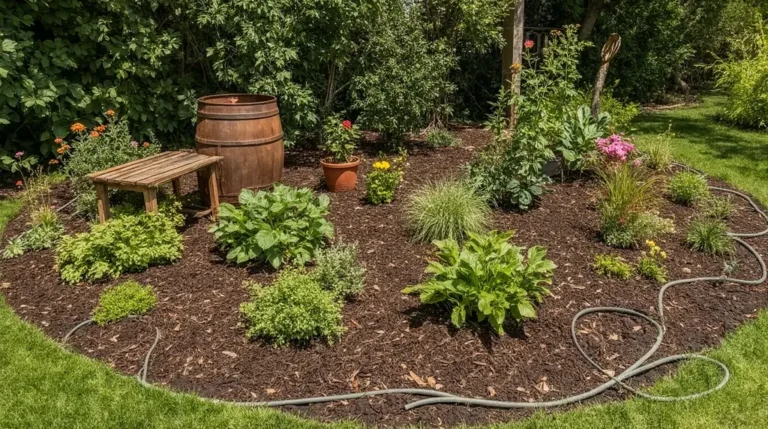
Phase 3: Planting for Maximum Biofiltration and Aesthetics
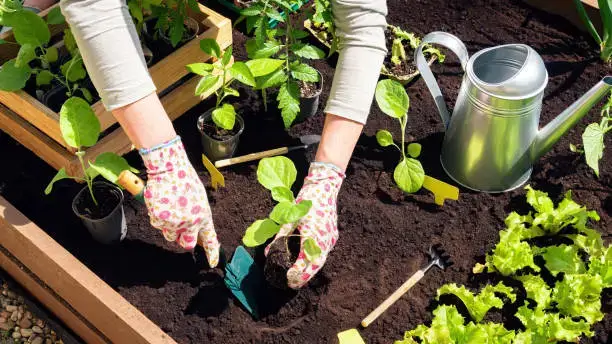
Now for my favorite part—picking out plants! This is where your rain garden goes from “hole in the ground” to “gorgeous ecosystem.”
The Power of Native Plants
Functionality: Native plants are where it’s at. They’re already adapted to your climate, they can handle local pests without chemicals, and they’ve got these amazing deep root systems that do all the heavy lifting for water absorption and pollution filtering.
Sustainability: Once they’re established, native plants are super low-maintenance. They don’t need extra watering (except when they’re babies), they don’t need fertilizer, and they laugh at local diseases. It’s like having a garden on autopilot.
Zonal Planting Strategy for Rain Gardens
Here’s the trick: different parts of your rain garden get different amounts of water, so you need to match plants to zones. It’s like seating guests at a party—you want everyone where they’ll be happiest.
Basin/Center Zone (The Wet Zone): This is where water sits after a storm. You need tough plants that can handle being soaked one day and dry the next. Go for sedges (those grass-like plants), Blue Flag Iris, or Louisiana Iris. They’re basically the amphibians of the plant world.
Slopes Zone (The Sometimes-Wet Zone): The middle ground needs plants that are flexible. Wetland grasses work great here—they bend with water flow without breaking and help hold the soil in place.
Banks/Edges Zone (The Dry Zone): Up on the rim where it stays pretty dry, plant drought-lovers like Purple Coneflower and Black-eyed Susan. These guys add tons of color and bring in butterflies and bees like crazy.
Aesthetic Integration: Don’t forget to throw in some shrubs and maybe a small tree or two on the downhill side. They look great in winter when everything else dies back, plus their roots are erosion-fighting machines.
Phase 4: Maintenance and Long-Term Success
Good news: rain gardens get easier over time, not harder. Here’s what you need to know.
Establishment Period (First 2 Years): Your plants need about an inch of water per week while they’re getting established. But skip the fertilizer—these native plants don’t need it and actually prefer not having it.
Weed and Debris Management: Throw down a few inches of mulch to keep weeds down and moisture in. Pick out any trash or leaves that wash in, because too much debris can clog things up. It’s like 15 minutes of work every few weeks—no big deal.
Pruning: Cut off dead stuff, but here’s a weird tip: leave the cuttings right there in the garden. They’ll break down and feed the soil, just like nature intended.
Self-Sustainability: After about two years, your rain garden basically runs itself. The plants are established, the ecosystem is humming along, and you can mostly just enjoy watching it do its thing.
Winter Care: If you’re in a cold climate, add an extra layer of compost in fall to keep things cozy. And don’t worry when everything dies back—those roots are still working underground, filtering snowmelt and all that salty street runoff.
Conclusion
Look, I get it—installing a rain garden sounds like a lot of work. But honestly? It’s one of the coolest projects you can tackle for your yard. You’re solving real problems (flooding, pollution, wildlife habitat loss) while creating something beautiful that gets easier to maintain over time. Want to build a healthier garden ecosystem? Don’t miss our related posts on Organic Vegetable Gardening: A Beginner’s Guide.
Whether you go all-in with a 300-square-foot masterpiece or start small with a 50-square-foot version, you’re making a difference. Every single rain garden, no matter the size, keeps pollutants out of our waterways and gives wildlife a place to thrive. And in a world where we’re seeing crazier storms and more development eating up green space, that matters more than ever.
So why not give it a shot? Your yard could be doing so much more than just looking nice—it could be part of the solution. Start planning your rain garden this weekend, and join those of us who’ve discovered that the best landscaping works with nature, not against it. Your neighbors will be asking for advice before you know it!
What is a rain garden and how does it work?
A rain garden is a shallow, planted area designed to collect and absorb rainwater from roofs, driveways, or yards. Instead of water running off, it soaks into the ground, reducing flooding and recharging groundwater. The plants also help filter pollutants naturally.