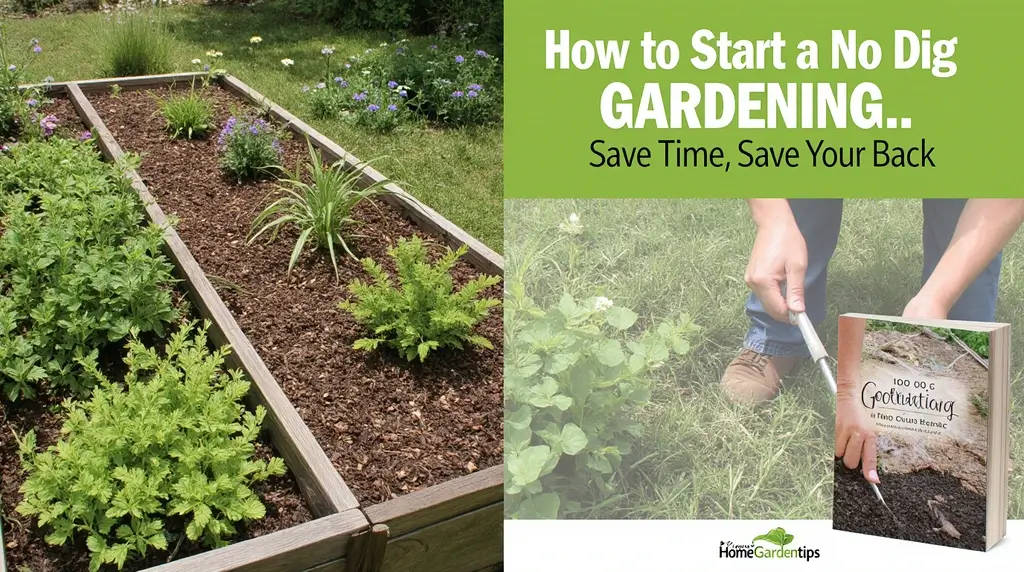
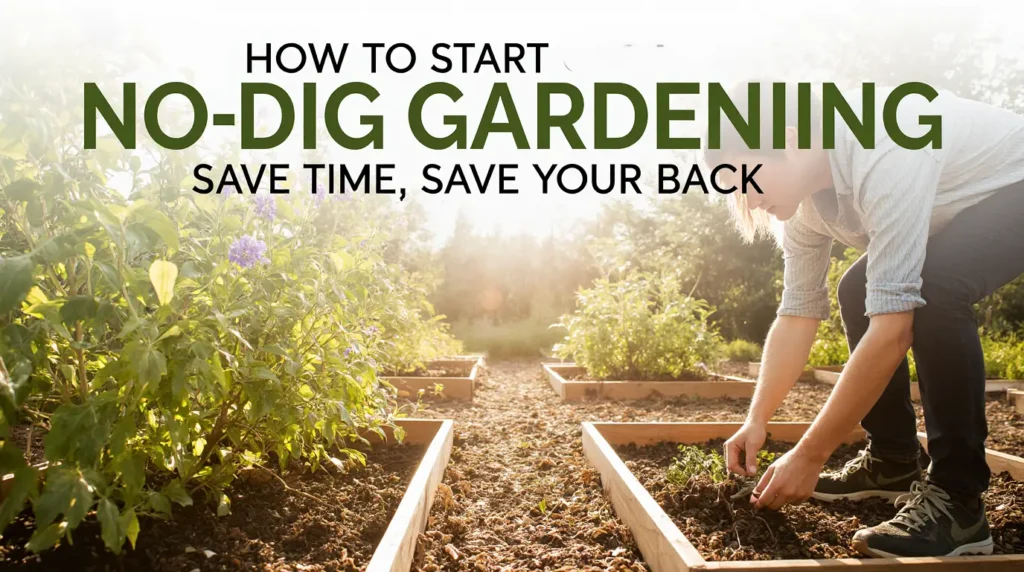
How to Start a no dig gardening: Save Time, Save Your Back
Table of Contents
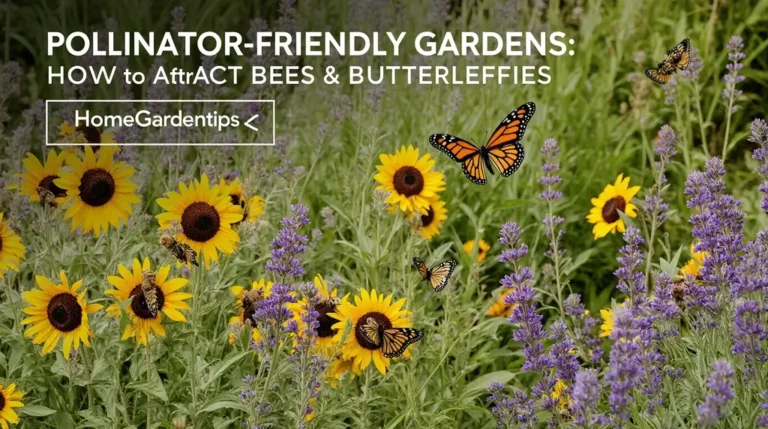
Look, if you’ve ever spent an entire weekend digging and tilling your garden only to wake up Monday morning feeling like you got hit by a truck, I’ve got some seriously good news for you. No dig gardening is about to change your whole relationship with growing veggies, and honestly? It’s kind of genius. This method is perfect for beginners who want all the tomatoes and lettuce without turning their backyard into a CrossFit workout. For more eco-friendly gardening insights, browse the rest of our Pollinator Friendly Gardens: How to Attract Bees & Butterflies.
Here’s the deal: you can create an amazing garden without ever disturbing the soil underneath. No back-breaking digging, no expensive tiller rental, no regrets. Just layer some organic stuff on top and let nature handle the rest. Sounds too good to be true, right? I thought so too until I tried it. So let me walk you through exactly how to set up your own no dig gardens and why you’re gonna love it.
What’s No-Dig Gardening and Why Should You Care?
Okay, so no-dig gardening (some folks call it no-till or lasagna gardening, because you’re basically making a lasagna for your plants) is super simple. Instead of ripping up the ground with a shovel, you just pile organic materials right on top of whatever’s there. Grass? Sure. Weeds? Yep. That sad patch of dirt you’ve been ignoring? Perfect.
Here’s the cool part: when you don’t dig, you’re not destroying the underground party that’s already happening. There’s this whole ecosystem down there—earthworms, helpful fungi, tiny organisms doing their thing—and traditional tilling basically wrecks it. Plus, tilling brings up dormant weed seeds that’ve been chilling deep in the soil. Not ideal. A low effort garden using the no-dig method basically works with all that underground goodness instead of fighting it.
This British gardener, Charles Dowding, has been doing side-by-side comparisons for years, and guess what? The no-dig beds consistently outperform traditional gardens. More veggies, fewer weeds, healthier plants. For anyone diving into beginner organic gardening, this is honestly your best bet because it’s super forgiving and low-maintenance.
Why You’re Gonna Love This Method
Let me break down why this approach is so awesome:
You’ll Get Your Life Back: Once your beds are set up, you’ll spend way less time maintaining them. We’re talking hours saved every week. Less weeding, less watering, less fighting with rock-hard soil. Most people report saving 3-5 hours weekly compared to old-school gardening. That’s a whole Netflix series worth of time!
Your Chiropractor Will Be Sad (But You Won’t): Seriously, no more bending over with a shovel for hours. The whole process is way easier on your body. This makes gardening accessible for pretty much anyone—whether you’re dealing with back issues, you’re getting older, or you just really don’t want to spend your Saturday excavating dirt.
Weeds Don’t Stand a Chance: The mulch layers basically smother existing weeds and block new ones from sprouting. You’ll still see a few here and there, but it’s nothing compared to a traditional garden. And the ones that do pop up? Super easy to pull out.
Your Soil Actually Gets Better: When you leave the soil alone, all those beneficial critters can thrive. Fungi create these amazing networks underground that help your plants find water and nutrients. Earthworms dig little tunnels that improve drainage naturally. It’s like having a free underground maintenance crew.
Less Watering: The organic matter holds onto moisture like a sponge, so you won’t be out there watering every single day in summer. Your plants stay hydrated, and you stay inside enjoying iced tea. Win-win.
You’re Helping the Planet: By not disturbing the soil and constantly adding organic matter, your garden actually captures carbon from the air. Your veggie patch becomes a tiny environmental hero. Pretty cool, right?
What You’ll Need to Get Started
The best part? You don’t need fancy equipment or a ton of money. Here’s your shopping list:
Cardboard or Newspaper: Just plain cardboard boxes (take off any tape or plastic first) or thick newspaper layers. This is your foundation that’ll kill off grass and weeds while breaking down over time.
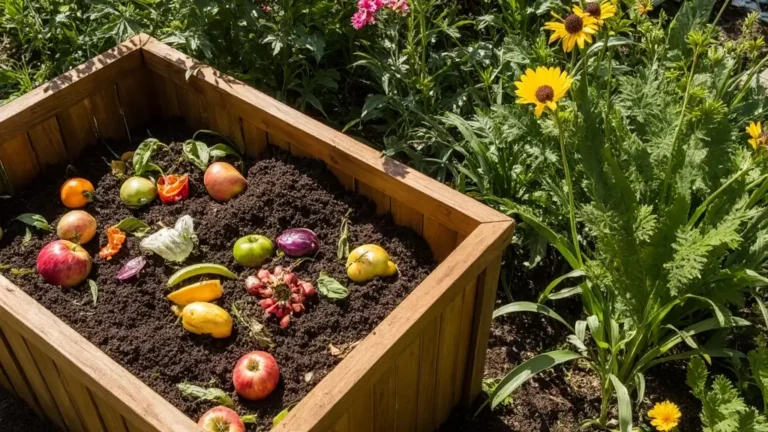
Compost: This is the main event—where your plants will actually grow. You want about 4-6 inches of good, well-rotted compost on top. You can make your own, buy bags at the garden center, or order bulk delivery. Whatever works for you.
Mulch: Straw, wood chips, shredded leaves, grass clippings—they all work great. This goes on top to keep weeds down and slowly feed your soil. Just avoid hay because it’s usually full of weed seeds. Trust me on this one.
Optional Borders: Wooden boards, logs, rocks, or metal edging can help keep everything neat and tidy, but they’re not necessary. I like them because they make the bed look intentional instead of like I just dumped stuff on the lawn.
Water Access: You’ll need a hose or watering can nearby.
Let’s Build This Thing: Step-by-Step
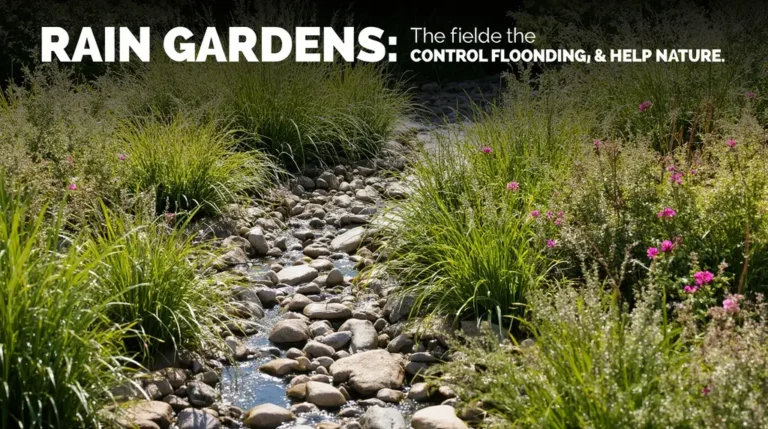
Alright, here’s where it gets fun. You can literally do this on any surface—lawn, weedy mess, terrible soil, whatever. For smarter water use in your garden, check out our Rain Gardens: Control Flooding and Help Nature.
Step 1: Pick Your Spot
Find somewhere that gets at least 6-8 hours of sun for veggies. Morning sun is especially good. And here’s the beauty—the ground doesn’t need to be perfect! Build right over whatever’s there.
I’d suggest starting with a bed about 3-4 feet wide (so you can reach the middle from both sides) and 4-8 feet long. Big enough to grow some real food, but not so huge that you’ll get overwhelmed.
Step 2: Lay Down That Cardboard
Cut down any really tall weeds or grass, but don’t pull anything up. Just smush it down. Then lay your cardboard pieces so they overlap by at least 6 inches—you don’t want any sneaky gaps for weeds to find. Water everything really well until it’s completely soaked. This helps it mold to the ground and start breaking down.
No cardboard lying around? No worries. Use about 6-10 sheets of newspaper instead, overlapping the same way. Skip any glossy pages though.
Step 3: Pile On the Compost
Spread 4-6 inches of compost right on top of that wet cardboard. Don’t cheap out here—this is where your plants are gonna live, so use good stuff. It should smell earthy and look dark and crumbly. Rake it smooth across the whole bed.
If you’re really into beginner organic gardening, you can add extras like rock dust or kelp meal for minerals, but honestly, good compost usually has everything you need.
Step 4: Add Your Mulch Layer
Now spread 2-3 inches of mulch over everything. Straw’s my favorite because it’s easy to move when you’re planting. This layer is super important—it locks in moisture, keeps your compost from drying out and getting crusty, and keeps blocking weeds.
If you’re planting right away, leave a little section mulch-free. If you’re building this ahead of time, just cover the whole thing.
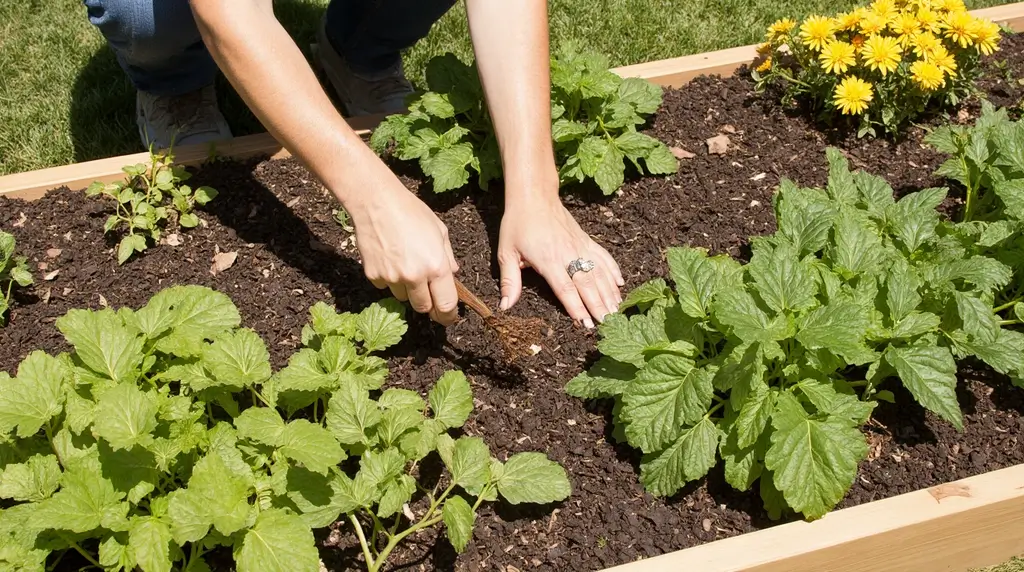
Step 5: Plant Your Veggies
Here’s the magic moment: you can plant immediately! For seedlings, just push the mulch aside, dig a hole in the compost (the cardboard’s still down there, but don’t worry about it), and plant normally. Within a few weeks, the cardboard will be soft enough for roots to punch through.
For seeds like lettuce or carrots, make shallow rows in the compost, drop in your seeds, cover lightly, and you’re done. Once they sprout, pull the mulch back close to keep weeds away.
What Should You Plant?
Pretty much anything grows great in no dig gardens, but here are my favorites for beginners:
Leafy Greens: Lettuce, spinach, kale, chard—they absolutely love no-dig beds. They grow fast too, so you’ll get that early confidence boost.
Tomatoes: These hungry plants thrive in the nutrient-rich environment. Plus, the mulch keeps dirt from splashing onto the bottom leaves, which means fewer diseases. Score!
Root Veggies: Carrots, beets, radishes—they grow perfectly straight in the loose, fluffy compost. No weird twisted shapes from hitting rocks and hard soil.
Beans and Peas: These guys actually add nitrogen to your soil while they’re growing. They’re basically improving your bed while feeding you. Overachievers, right?
Squash and Cucumbers: They love the consistent moisture. Let them sprawl all over or give them something to climb.
Keeping Your Bed Happy Long-Term
Once it’s going, your bed is pretty low-maintenance:
Add Compost Every Year: Before planting season each spring, just add another 1-2 inches of fresh compost on top. Don’t dig it in—just layer it on. This is literally the whole secret to this low effort garden thing. Super easy, and it keeps everything healthy.
Top Up the Mulch: As your mulch breaks down (which is good!), add more to keep that 2-3 inch layer going. This keeps feeding your soil while protecting it.
Be Gentle When Harvesting: When you’re pulling out old plants, be gentle and shake the soil back onto the bed. Leave roots in place when you can—they’ll decompose and feed all those helpful microbes.
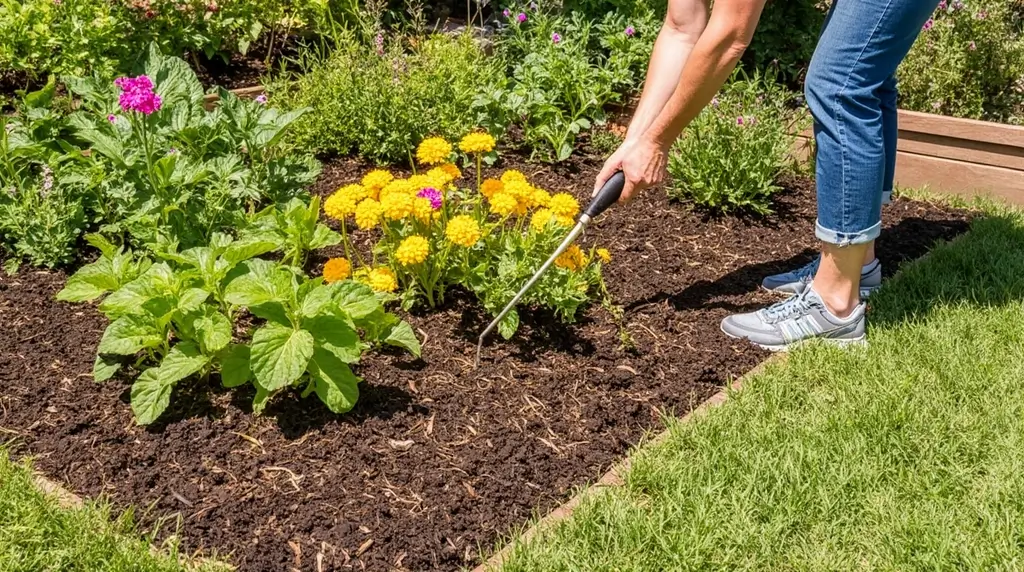
Pull Weeds When They’re Babies: The few weeds you get will be super easy to pull from the loose surface. Just get them when they’re small.
Rotate Your Crops: Even in no-dig, it’s smart to move plant families around to different spots or beds to prevent disease and balance nutrients.
Winter Cover: In cold climates, pile on extra mulch or leaves in fall to protect everything over winter. Come spring, just pull it back and add fresh compost. Easy.
When Things Go Sideways
Slugs Everywhere: Yeah, the moist mulch can attract these little jerks. Try copper tape barriers, beer traps, or encourage beetles (they eat slugs). Or switch to coarser wood chips—slugs hate those.
Plants Growing Slow at First: First season might be a bit slower as everything settles in. By year two, though? Your plants will explode. The soil life needs time to really get established.
Cardboard Showing Through: If you see cardboard peeking out, just toss more compost or mulch on top. It’ll break down soon enough.
Compost Got Hard: Rare, but if your compost layer gets compacted, gently loosen the surface with a hand fork. Or better yet, use good textured compost and keep that mulch layer going to prevent it.
Growing Your Garden Empire
Once you see how easy your first bed is, you’re gonna want more. Trust me, it’s addictive. The awesome thing about no dig gardening is you can add beds whenever you want. Each one follows the same simple process.
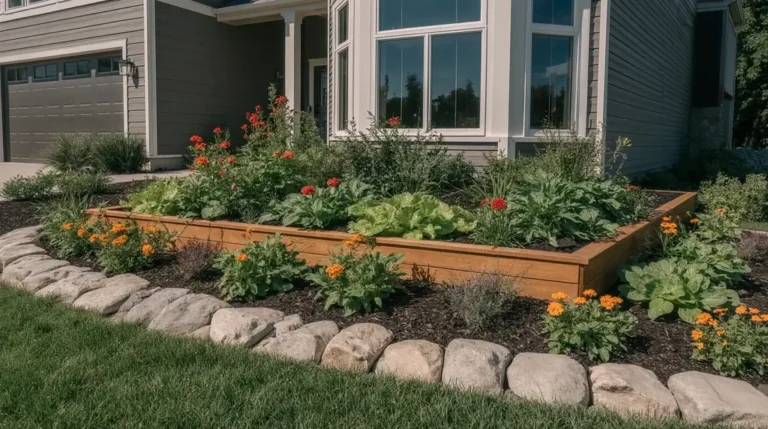
You could make separate beds for different plant families to make crop rotation easier. Maybe add a flower bed between veggie beds to attract pollinators (and it looks pretty!). Put down wood chip paths between beds so you’ve got clean, dry places to walk.
Some people even transform their whole lawn this way, one bed at a time. Same process whether you’re doing one tiny bed or covering your whole yard.
You’re Also Helping the Planet
Here’s something cool: traditional tilling releases stored carbon into the air, messes up ecosystems, and actually damages soil over time. By keeping your soil intact and building it up with organic matter, you’re helping regenerate the earth. No joke—it’s one of the most promising environmental strategies out there.
Your little backyard garden becomes a carbon sink instead of a carbon source. All that soil life you’re supporting helps biodiversity and creates this resilient ecosystem that needs way less fertilizer and pesticides.
If you’re passionate about beginner organic gardening, no-dig is basically the perfect match. You’re working with nature, building healthy soil, and creating a system that takes care of itself.
Ready to Get Started?
Starting a no-dig garden isn’t just about growing food—it’s about finding a better, easier way to connect with the earth. You don’t need to be an expert, you don’t need expensive tools, and you definitely don’t need perfect conditions. Just grab some cardboard, compost, and mulch, and give it a shot. For chemical-free pest solutions, visit our Organic Pest Control: Natural Solutions Easy That Work.
That first tomato you harvest, knowing you didn’t kill your back or disturb a single earthworm growing it? It’s gonna taste amazing. And that morning when you realize you’ve only spent 20 minutes weeding all month instead of hours every week? That’s when you’ll become a total convert.
So grab your materials, mark out your first bed, and start layering. Your back, your schedule, and all those little creatures in your soil will thank you. Welcome to no-dig gardening—where doing less work really does mean getting more veggies!
What exactly is no-dig gardening?
No-dig gardening is a method where you don’t turn or till the soil. Instead, you build layers of organic matter like compost and mulch on top of the existing soil. This encourages healthy soil life and reduces physical strain.