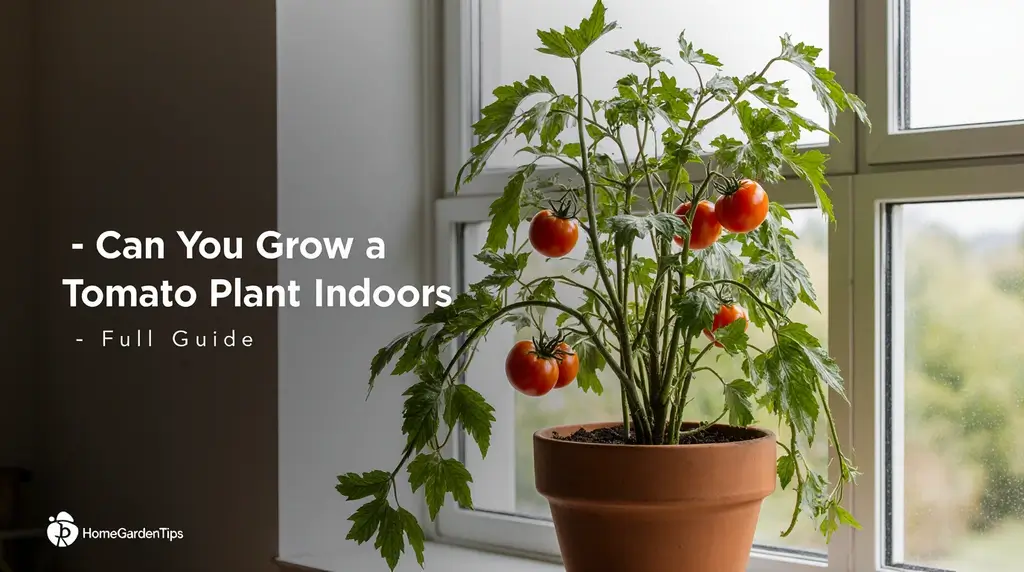
can you grow a tomato plant indoors? full guide
Table of Contents
Growing tomatoes indoors allows you to produce a fresh and delicious harvest throughout the winter months, and you’ll enjoy the taste of fresh, homegrown tomatoes instead of store-bought ones. If you’ve ever wondered, can you grow a tomato plant indoors? The answer is a resounding yes! Growing tomatoes indoors is especially beneficial if you live in a multi-unit building and don’t have access to outdoor space for growing vegetables. With the right techniques, proper lighting, and consistent care, you can successfully cultivate thriving tomato plants right in your home.
Indoor tomato gardening has become increasingly popular among urban gardeners and home improvement enthusiasts who want to maximize their indoor living spaces. Whether you’re interested in learning how to grow indoor plants or specifically want to grow a tomato plant indoors, this comprehensive guide will walk you through every step of the process. From selecting the perfect tomato variety to harvesting your first ripe fruits, you’ll discover that indoor tomato cultivation is not only possible but incredibly rewarding. take a look at our home upgrade checklist Smart Home Upgrades for Energy Efficiency.
Method 1: Sowing Tomato Seeds
The foundation of successfully growing tomatoes indoors begins with proper seed sowing. Understanding how to grow a tomato plant indoors starts with choosing quality seeds and creating optimal germination conditions. This initial phase is crucial for establishing healthy plants that will produce abundant fruit throughout the growing season.
Step 1: Choose a Suitable Variety
When deciding which tomato variety to grow indoors, you’ll have a choice between determinate (bush) and indeterminate (vine) varieties. Both types can thrive in indoor environments, but each offers distinct advantages depending on your space and goals. Understanding these differences is essential when you’re learning can a tomato plant grow indoors successfully.
Indeterminate varieties are often ideal for indoor gardens. These climbing plants will naturally reach upward and require support structures like cages, stakes, or trellises. Unlike determinate varieties, indeterminate tomatoes continue growing and producing fruit throughout the entire season rather than setting all their fruit at once. If you’re looking for a tomato variety that produces abundant fruit and ripens continuously, choose indeterminate plum or cherry varieties.
However, indeterminate tomatoes can grow quite large and require more space than determinate varieties. If your indoor space is limited, consider small, dwarf determinate varieties that typically produce ripe fruit in just four to six weeks. These compact plants are perfect for apartment dwellers or anyone with minimal growing space.
Popular indeterminate varieties include: Ping Pong, Siberia, White Fir, Tommy Toe, and Pear tomatoes. Indeterminate hybrid varieties that perform well indoors include Michaelro Tom, Orange Tomato, Patio Tomato, Red Robin, Tiny Tim, and Totem.
Recommended determinate cherry tomato varieties: Washington Cherry and Golden Cherry are excellent choices for compact indoor growth. Determinate hybrid varieties include Jubilee Cherry and Terenzo Hybrid, both of which produce abundant fruit in smaller spaces.
Step 2: Sow the Tomato Seeds in a Growing Mix
Proper seed sowing technique is critical when you grow a tomato plant indoors. Begin by moistening your seed mix or potting mix with fresh water until it reaches a consistency that’s damp but not waterlogged. The soil should hold together when squeezed but not drip water.
Fill small pots or seed starting cells with the moist growing medium, leaving about a quarter-inch of space at the top. Create a small hole in each cell, no more than 0.6 cm (approximately 1/4 inch) deep. Using tweezers or your fingers, carefully place three seeds in each hole. This multi-seed approach ensures germination success, as you can later thin to the strongest seedling.
Important timing consideration: Plant your tomato seeds 60 to 80 days before you plan to harvest the tomatoes. This timeframe allows for proper germination, seedling development, transplanting, and fruit maturation.
If you don’t have dedicated seed starting pots, you can repurpose plastic yogurt containers, small tins, or similar containers. When using recycled containers, thoroughly clean them with a solution of one part bleach to ten parts water to eliminate any potential pathogens or contaminants that could harm your seedlings.
Step 3: Support Germination by Providing Warmth and Water
Germination is the magical process where a dormant seed transforms into a living seedling. For tomato seeds, this process typically takes five to ten days under optimal conditions. Understanding how to grow indoor plants successfully means mastering the art of germination, which requires careful attention to temperature and moisture.
Create a greenhouse effect: Immediately after planting your seeds, cover the containers with a clear plastic lid or plastic wrap. This covering helps trap moisture and maintain consistent humidity levels, preventing the soil from drying out during the critical germination period.
Maintain optimal temperature: Move your seed containers to a warm location where you can maintain daily soil temperatures between 20°C and 25°C (68°F to 77°F). This temperature range is ideal for tomato seed germination. If your indoor space doesn’t naturally reach these temperatures, consider purchasing a seedling heating pad or placing the containers in a naturally warm spot, such as on top of a refrigerator or near a sunny window.
Monitor moisture daily: Remove the plastic covering once per day to check soil moisture and provide air circulation. Water the seeds as needed to keep the soil consistently moist but never waterlogged. Overly wet conditions can lead to fungal diseases and seed rot.
Step 4: Move the Seedling to a Sunny or Artificially Lit Area
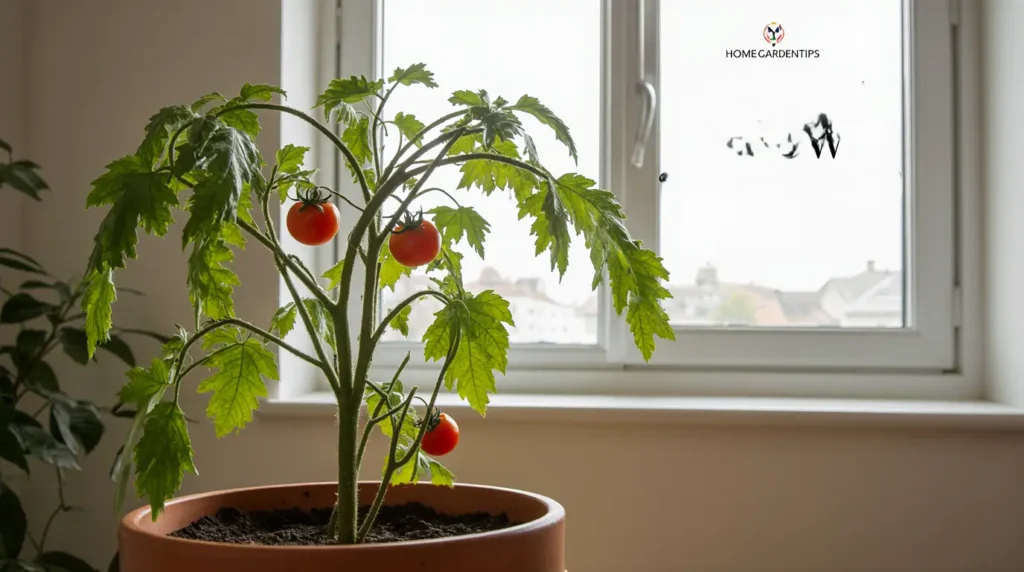
Light is absolutely essential when you grow a tomato plant indoors. Tomato seedlings and mature plants require a minimum of eight hours of direct light daily, though 12-16 hours is optimal for vigorous growth. Without adequate lighting, your tomato plants will become leggy, weak, and unproductive.
As soon as you see the first green sprouts emerging from the soil, immediately remove the plastic covering and provide bright light. This timing is crucial because young seedlings will stretch toward any available light source, and delayed exposure can result in weak, elongated stems.
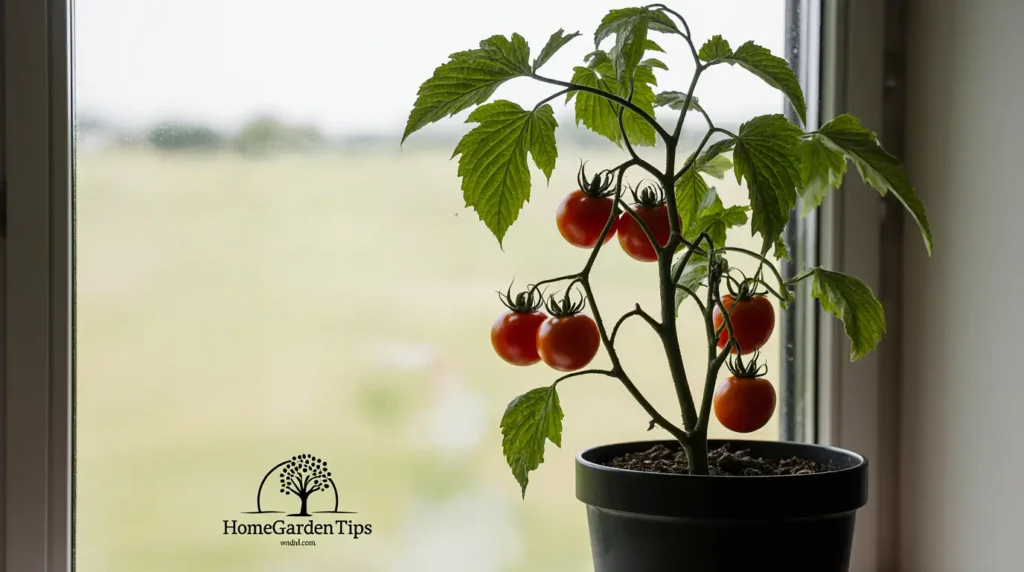
Natural light options: If you have a south-facing window (in the Northern Hemisphere) or north-facing window (in the Southern Hemisphere), place your seedling containers directly in front of the window where they’ll receive maximum sunlight. These orientations provide the strongest, most consistent natural light throughout the day.
Artificial lighting solutions: If natural sunlight is insufficient or unavailable, invest in grow lights or fluorescent lights specifically designed for plant cultivation. Position these artificial light sources just a few centimeters (2-3 inches) above the seedling tops. As your plants grow taller, continuously adjust the light height to maintain this close distance, ensuring optimal light intensity.
Pro tip for windowsill gardening: If you’re relying on natural window light, rotate your plant containers regularly—ideally once or twice daily. This rotation ensures all sides of the plant receive equal light exposure, promoting balanced, symmetrical growth and preventing the plants from leaning toward the light source.
Method 2: Transplanting and Fertilizing Seedlings
Once your seedlings have established themselves and developed their first true leaves, it’s time to transition them to their permanent growing containers. This transplanting phase is crucial when learning how to grow a tomato plant indoors successfully, as it sets the foundation for healthy root development and future fruit production. For more decorating ideas, explore our guide to DIY Indoor Herb Garden for Fresh Cooking.
Step 1: Transplant the Seedlings into Larger Pots
When your seedlings develop one or two sets of true leaves (the second set of leaves that appear after the initial seed leaves), they’re ready for transplanting. At this stage, the small seed starting containers become restrictive, and your plants need more room to develop robust root systems.
Select the right container size: Choose a pot large enough to accommodate a mature plant—a 20- to 35-liter (5-9 gallon) container is ideal for most indoor tomato varieties. Larger containers provide better moisture retention and root development space, which directly correlates with plant health and fruit production.
Transplanting technique: Carefully remove the seedling from its original container without disturbing the delicate root system. Place your fingers around the seedling stem, position your palm flat on the soil surface, then gently turn the container upside down. Tap the bottom of the container until the entire root ball slides out intact.
Gently loosen the outer roots by carefully shaking or teasing them apart with your fingers. This encourages the roots to spread outward into the new soil rather than continuing to grow in a circular pattern.
Deep planting technique: Bury the seedling deeper than it was in its original container, planting it up to the first set of true leaves or the hairy strands visible along the stem. These fuzzy hairs are actually adventitious root primordia that will develop into additional roots when buried, creating a stronger, more resilient plant.
Water the newly transplanted seedling thoroughly, ensuring the entire root zone receives moisture. This initial watering helps settle the soil around the roots and eliminates air pockets.
Step 2: Water the Plants When They Are Dry
Consistent watering is absolutely critical after transplanting and throughout your plant’s life. When you can you grow a tomato plant indoors successfully, proper moisture management makes the difference between thriving plants and struggling ones.
Daily soil check: Check your plant’s soil moisture every single day by inserting your finger approximately 2-3 cm (about one inch) into the soil. If the soil feels dry at this depth, it’s time to water. If the surface appears dry but the deeper soil remains moist, wait another day before watering.
Why consistent moisture matters: Allowing the soil to completely dry out can cause serious problems, including blossom end rot—a condition where tomatoes develop dark, sunken spots at the bottom due to calcium uptake issues related to inconsistent watering. Maintaining even soil moisture prevents this frustrating problem and ensures healthy fruit development.
When watering, apply water slowly and thoroughly until it begins draining from the bottom of the container. This ensures the entire root system receives moisture, encouraging deep root growth rather than shallow, surface roots.
Step 3: Provide Adequate Light During Day and Night
While tomato plants need abundant light for photosynthesis and growth, they also require periods of darkness for essential metabolic processes. Understanding this light-dark cycle is fundamental when learning how to grow indoor plants effectively.
If you’re using artificial grow lights, you must simulate natural day-night cycles. Turn the lights on in the morning and leave them on for 12 to 16 hours, then turn them off to allow the plant to rest in complete darkness. This rest period is when plants perform important cellular repair and growth processes.
Automation tip: Connect your grow lights to an automatic timer to maintain a consistent lighting schedule. This eliminates the need for manual operation and ensures your plants receive reliable, predictable light cycles every day. Most indoor gardeners find a 14-16 hour light period works best for tomato production.
Step 4: Fertilize the Seedling
Indeterminate tomato varieties are heavy feeders because they continue growing and producing fruit throughout the entire season. These plants require consistent nutrient supplementation to maintain this intensive production cycle.
Fertilization schedule: Apply the first fertilization within two weeks after transplanting your seedlings to their permanent containers. Continue fertilizing every two to three weeks throughout the growing season until the plants reach full maturity and begin producing ripe fruit.
Choosing the right fertilizer: Use a fertilizer formulated with high phosphorus content, which promotes strong root development and fruit production. Look for products labeled for tomatoes or vegetables with NPK ratios that emphasize the middle number (phosphorus).
Always follow the manufacturer’s instructions on the product label regarding dilution rates and application frequency. Over-fertilization can damage plants and reduce fruit quality, while under-fertilization results in poor growth and low yields.
Method 3: Pollination, Training, and Harvesting
The final phase of growing tomatoes indoors involves training your plants for optimal structure, facilitating pollination, and eventually harvesting your homegrown fruits. These advanced techniques are what separate successful indoor tomato growers from those who struggle. Mastering these methods ensures you can a tomato plant grow indoors to its full productive potential.
Step 1: Support the Plant to Grow
Indeterminate tomato varieties naturally climb and require physical support structures to grow properly. Without adequate support, these vining plants will sprawl across surfaces, leading to poor air circulation, increased disease risk, and damaged fruit. Training tomatoes to grow vertically maximizes your indoor space while promoting healthier, more productive plants.
When to begin training: Start training your tomato plants approximately one month after transplanting the seedlings. At this stage, the plants are sturdy enough to handle manipulation but still flexible enough to train easily.
Single stake or trellis method: If you’re using a single vertical stake or a single-rope trellis, focus on training the main stem only. Attach the stem to your support structure using soft garden twine or plant ties at intervals of 15 to 20 cm (6-8 inches). Tie the string in loose figure-eight knots to avoid constricting the stem as it grows thicker.
Pruning suckers: Suckers are the small shoots that emerge between the main stem and leaf branches. For single-stem training, remove these suckers by pinching or breaking them off at the joint with your fingers when they’re small (2-3 inches long). This concentrates the plant’s energy into fruit production on the main stem rather than excessive foliage growth.
Multi-strand cage or trellis method: If you’re using a tomato cage or multi-strand trellis, begin by placing the structure over the plant while it’s still young. Installing cages around mature plants is difficult and can damage branches.
For cage training, tie the main stem to the support structure every 15-20 cm as it grows. Leave the first three or four suckers on the plant to develop into productive side branches. Train these suckers by tying them to the cage or trellis as they grow, spacing ties every 15-20 cm. Remove any additional suckers that appear beyond these main branches.
Step 2: Support Pollination
In outdoor gardens, nature handles pollination through bees, other insects, and wind. When you grow a tomato plant indoors, you must manually replicate these natural pollination processes. Without proper pollination, flowers will drop without forming fruit, severely limiting your harvest.
Air circulation method: Position a small fan near your tomato plants to create gentle air movement. This simulates wind and helps distribute pollen from flower to flower. Run the fan for several hours daily, especially during peak flowering periods.
Manual vibration: Gently tap or shake the main stem of each plant with your finger once or twice daily when flowers are present. This physical vibration releases pollen within the flowers, mimicking the effect of bees visiting the blossoms.
Brush or swab pollination: For maximum pollination success, use a small, soft paintbrush or cotton swab to transfer pollen between flowers. Gently brush or dab the center of each open flower, moving from flower to flower. This direct pollen transfer is the most reliable indoor pollination method.
Perform pollination activities during mid-morning hours when flowers are fully open and pollen is most viable. Consistent pollination effort during the flowering period directly impacts your eventual harvest size.
Step 3: Harvest Your Homegrown Tomatoes
After 60 to 80 days from planting, your indeterminate tomato plants will begin producing ripe fruit. Unlike determinate varieties that ripen all at once, indeterminate plants continue flowering and fruiting throughout the season, providing a continuous harvest for months.
Identifying ripe tomatoes: Tomatoes are ready for harvest when they develop their characteristic color—red, yellow, pink, or orange depending on the variety. Ripe tomatoes should feel firm yet yield slightly when gently squeezed. The skin should have a slight glossiness without green shoulders or patches.
Proper harvesting technique: To pick tomatoes without damaging the plant, hold the fruit gently near the stem connection point. Twist the tomato while applying slight upward pressure until it separates from the vine. Some varieties have natural breaking points that make this easier than others.
If you’re having difficulty removing a tomato, use clean pruning shears or scissors to cut the stem just above the fruit rather than pulling or forcing it. This prevents plant damage and ensures continued production.
Post-harvest care: Store freshly harvested tomatoes at room temperature rather than refrigerating them. Cold temperatures break down the cellular structure and diminish the flavor that makes homegrown tomatoes so superior to store-bought varieties.
Helpful Tips for Indoor Tomato Success
Monitor for common pests: Indoor tomato plants are susceptible to houseplant pests including aphids, whiteflies, and spider mites. These insects can hide near plants and multiply rapidly in the stable indoor environment. Inspect your plants regularly, checking both the tops and undersides of leaves. If you discover pests, treat them immediately with insecticidal soap or neem oil to prevent infestations.
Maintain consistent hydration: Keep your plants well-hydrated throughout their lifecycle. While the watering regime for indoor plants mirrors outdoor cultivation practices, remember that indoor soil generally doesn’t dry out as quickly due to lower temperatures and reduced air circulation. Adjust your watering frequency accordingly, always checking soil moisture before adding water.
Ensure adequate air circulation: Good air movement around your plants prevents fungal diseases and promotes stronger stems. A small oscillating fan running on low speed helps strengthen plant stems through gentle movement while reducing disease risk.
Control temperature: Tomatoes thrive in temperatures between 18-27°C (65-80°F). Most home environments naturally fall within this range, but avoid placing plants near cold drafts, heating vents, or air conditioning units where temperature fluctuations can stress plants.
Practice patience: Growing tomatoes indoors requires more patience than outdoor gardening. Lower light levels compared to full sun mean slower growth and longer maturation times. However, the reward of fresh, homegrown tomatoes during winter months makes the wait worthwhile.
Conclusion: Yes, You Can Grow Tomatoes Indoors Successfully!
The question “can you grow a tomato plant indoors?” has a definitive answer: absolutely! With proper variety selection, adequate lighting, consistent watering, appropriate fertilization, and manual pollination, you can enjoy a continuous harvest of fresh, delicious tomatoes year-round from the comfort of your home. If storage is a challenge, our guide to Basement Makeovers: Transform Storage Into Living Space easy might inspire you.
Indoor tomato cultivation transforms your living space into a productive garden, providing both aesthetic appeal and practical benefits. Whether you’re an urban dweller without outdoor space, a home improvement enthusiast looking to maximize indoor living potential, or simply someone who appreciates the superior flavor of homegrown produce, growing tomatoes indoors offers a rewarding and sustainable solution.
Remember that success with indoor tomatoes comes from attention to detail and consistency in care. From the initial seed sowing through germination, transplanting, training, pollination, and finally harvest, each step builds upon the previous one. By following this comprehensive guide on how to grow a tomato plant indoors, you’ll develop the skills and confidence to become a successful indoor gardener. Start your indoor tomato garden today, and soon you’ll be enjoying the unmatched taste of vine-ripened tomatoes picked fresh from your own home, regardless of the season outside your window.
Is it actually possible to grow tomatoes indoors successfully?
Yes, it’s possible if you give the plant enough light, warmth, and airflow. Tomatoes are sun-loving plants, so indoor success depends more on setup than luck. With the right conditions, they can grow and produce fruit inside your home.