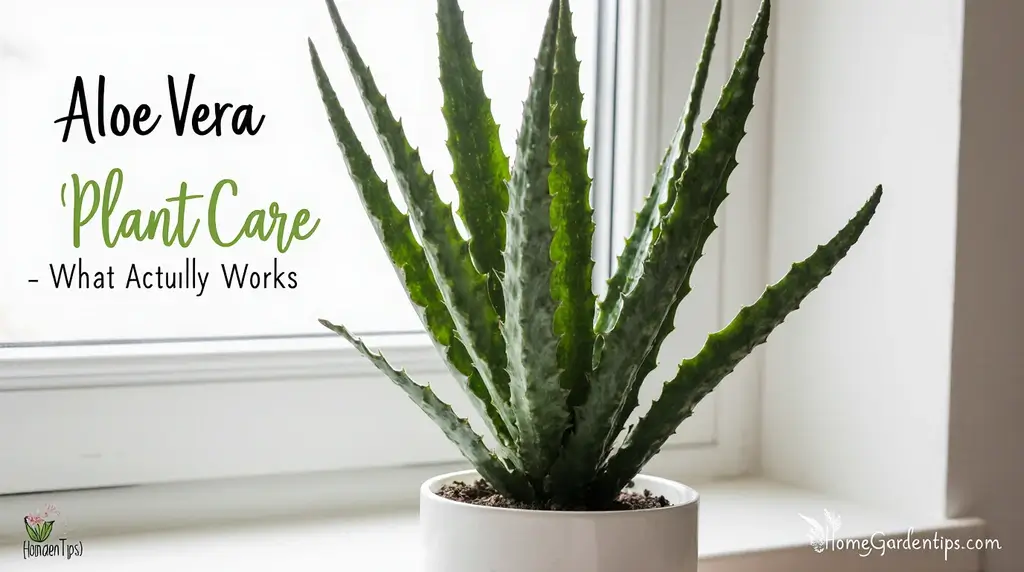
Aloe Vera Plant Care at Home: What Actually Works
Table of Contents
I’ll be honest—aloe vera has earned its reputation as the perfect beginner plant for good reason. It’s tough, forgiving, and won’t hold a grudge if you forget about it for a couple of weeks. But here’s the thing: while these succulents are low-maintenance, they’re not zero-maintenance. A few simple adjustments to how you care for them can mean the difference between a sad, struggling plant and one that practically thrives on neglect.
Let me walk you through what’s worked reliably for keeping aloe healthy at home. I’ve learned that plant care becomes easier once you understand this part better How to Propagate Plants Easily: Cuttings, Division & More.
Getting the Light Right
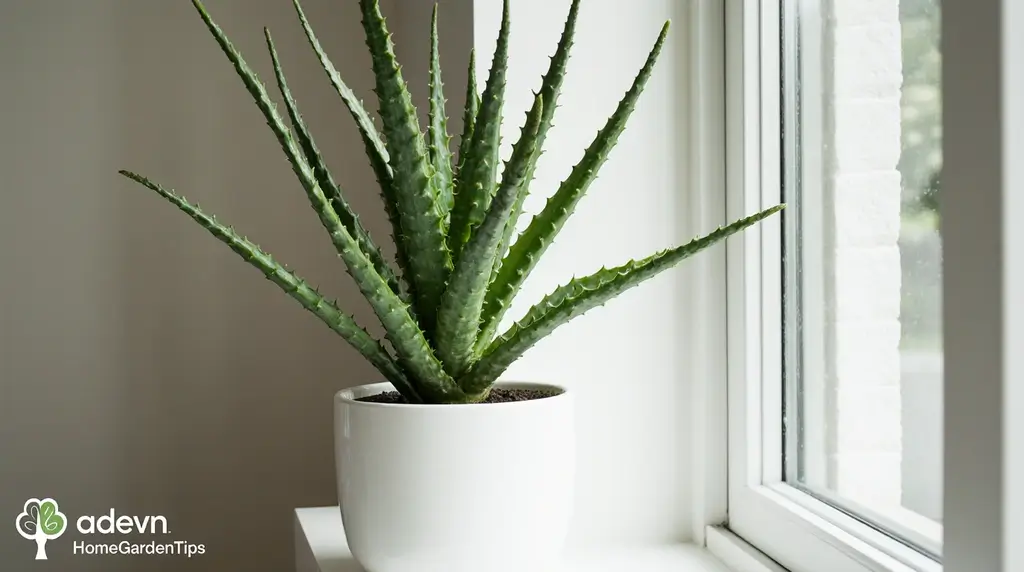
Aloe vera originally comes from hot, dry climates, so it craves bright light. But there’s a catch—it doesn’t want harsh, direct sun beating down on it all day. Think of it like this: aloe wants a sunny spot, just not a sunburned spot.
Your best bet is a location with bright, indirect light. A kitchen window usually works perfectly, or anywhere that gets good light without the midday sun scorching the leaves. South-facing windows can work, but you might need to pull the plant back a bit or use a sheer curtain during peak hours.
Here’s what happens when you get it wrong: too little light and your aloe starts stretching toward the nearest window, getting leggy and weak. Too much direct sun? The leaves turn an unhealthy brownish-red. Neither is what you’re going for.
At minimum, aim for four to six hours of good light each day. If your home doesn’t get much natural light, a simple grow light can fill the gap.
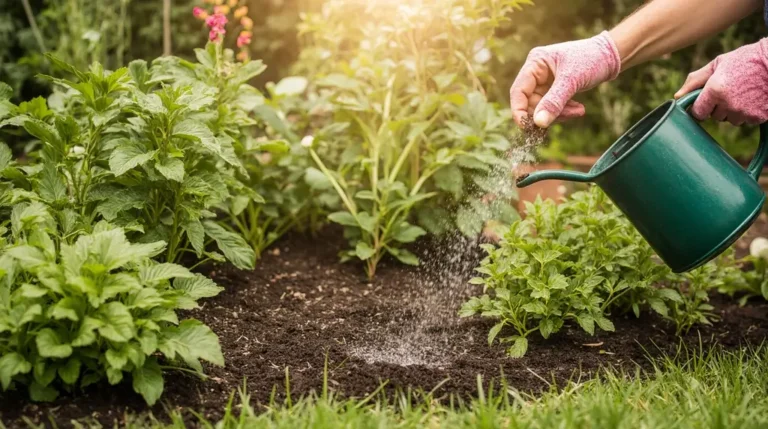
How Often Should You Actually Water?
This is where most people mess up, and I get it—it feels wrong to leave a plant thirsty. But overwatering kills more aloe plants than anything else.
The trick is simple: let the soil dry out completely before watering again. And I mean really dry—stick your finger about two inches into the soil. If it’s even slightly damp, wait.
When you do water, water thoroughly but don’t drown it. Pour slowly around the base until water runs through the drainage holes, then stop. Never let the pot sit in a saucer of water.
During spring and summer, you’re probably looking at watering every 10 to 14 days, give or take. In winter, cut back to maybe once a month. The plant essentially takes a break when it’s cooler, so it needs far less water.
Signs you’re overdoing it:
- Leaves turning yellow or translucent
- Mushy, soft texture
- General droopiness
Signs you’re underwatering (though this is rare):
- Leaves looking thin and wrinkled
- Tips turning brown and crispy
The good news? Aloe bounces back from underwatering much faster than from root rot.
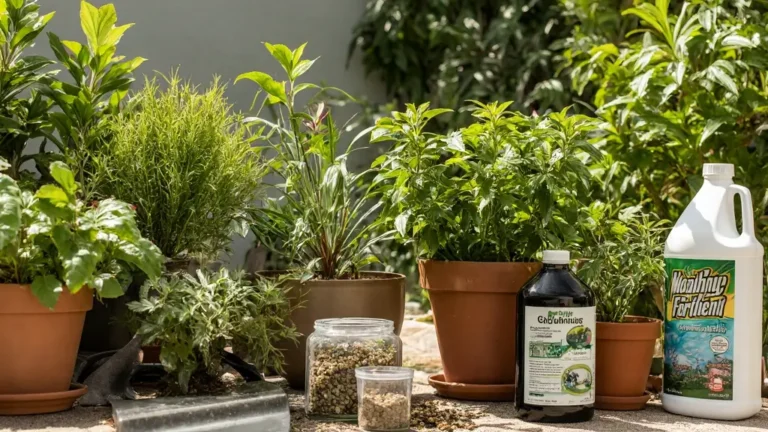
Feeding Your Plant (But Not Too Much)
Aloe doesn’t need much fertilizer, but a little boost during growing season helps. From April through September, feed it twice a month with a succulent or cactus fertilizer. Dilute it to half-strength—full strength is overkill for these plants.
In winter, skip the fertilizer entirely. The plant slows down, sometimes stopping growth altogether until spring rolls around again.
If you prefer organic options, diluted compost tea or worm casting liquid work well without risking chemical burn.
Keeping Pests Away

Mealybugs are the main problem you’ll run into. These little white, fuzzy pests love aloe sap and can multiply quickly if left unchecked.
Prevention is easier than treatment. Every couple of weeks, spray your plant with a natural insecticide—you can make one at home by mixing water with a few drops of dish soap and neem oil.
If you spot mealybugs (check where the leaves meet the stem—they hide there), isolate the plant immediately. Dab the bugs with a cotton swab soaked in rubbing alcohol, then treat the whole plant with your spray solution.
Catching them early makes all the difference.
The Right Pot and Soil Matter
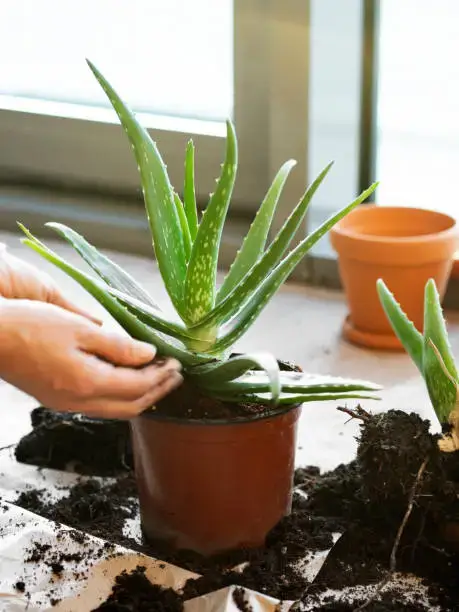
When you buy an aloe, it’s usually crammed into a tiny plastic pot. That’s fine temporarily, but you’ll want to repot fairly soon. This is closely related to another plant care method I’ve written about before Top 10 Indoor Plants That Belong in a High-End Home.
Pick something about two to three inches wider than the current pot. The non-negotiable feature? Drainage holes. Without them, you’re setting yourself up for root rot.
Terra cotta pots are ideal because they’re porous—excess moisture evaporates through the sides. But any pot with drainage works fine.
For soil, grab a bag labeled for cacti and succulents. Regular potting soil holds too much water and will eventually suffocate the roots. Aloe needs fast-draining, sandy soil that mimics its natural desert habitat.
Can’t find the right mix? Make your own by combining two parts potting soil, one part coarse sand, and one part perlite.
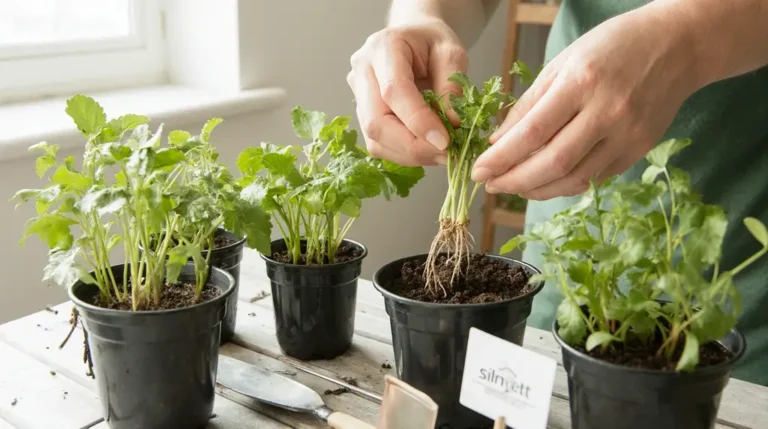
Propagating New Plants from Pups
Once your aloe settles in, it’ll start producing small offshoots around the base—these are called pups. They’re basically baby aloe plants, and they’re ridiculously easy to propagate.
Wait until the pups are at least three to four inches tall. Then carefully remove the entire plant from its pot and gently brush away soil until you can see where the pups connect to the mother plant.
Separate them carefully (try not to tear the roots), then set them aside on a clean surface for two to three days. This step matters—it lets the cut areas dry and callus over, which prevents rot when you plant them.
After they’ve hardened off, pot each pup in its own container with cactus soil. Water sparingly for the first few weeks while they establish roots.
Within a couple of months, you’ll have new plants ready to keep or give away.
What Usually Goes Wrong
A few common mistakes trip people up:
Too much water. Can’t stress this enough. When in doubt, wait another few days before watering.
No drainage holes. Even if the pot is gorgeous, skip it if water can’t escape. Use it as a decorative outer pot instead, with a properly draining pot inside.
Not enough light. A dim corner won’t cut it. Aloe needs bright light to stay compact and healthy.
Wrong soil. Standard potting mix retains moisture way too long. Always use a fast-draining cactus mix.
The Bottom Line
Caring for aloe vera at home really comes down to understanding what it needs—and more importantly, what it doesn’t need. Bright indirect light, infrequent watering, decent drainage, and occasional feeding during growing season. That’s about it. For perfect watering routines, visit our The Ultimate Guide to Watering Your Plants: Tips for Every Season.
These plants evolved to survive harsh conditions with minimal resources, so they’re naturally built to handle some neglect. The challenge isn’t giving them enough attention—it’s resisting the urge to fuss over them too much.
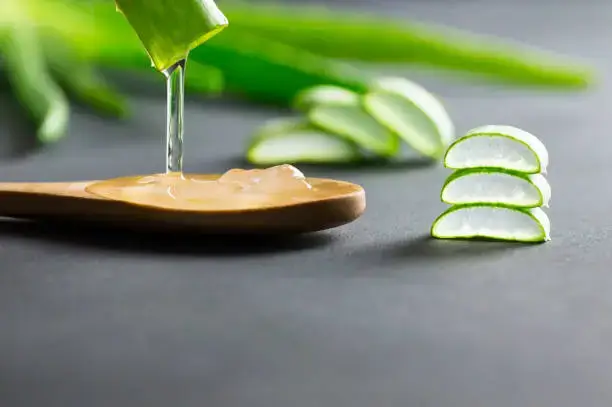
Get the basics right, pay attention to what the plant is telling you (yellowing leaves, stretched growth, etc.), and you’ll have a healthy aloe that sticks around for years. Plus, you’ll always have fresh gel on hand for the occasional kitchen burn or sunburn.
Not bad for a plant that asks so little of you.
Why do aloe vera leaves sometimes turn soft or mushy?
This usually happens when the plant is getting too much water. Aloe stores moisture in its leaves, so frequent watering can cause rot. Let the soil dry out completely before watering again.