DIY Rainwater Harvesting Setup for Backyard Gardens
Table of Contents
DIY Rainwater Harvesting
If you’re tired of watching your water bill climb every summer, there’s a simple solution literally falling from the sky. Rainwater harvesting might sound complicated, but it’s actually one of the easiest ways to cut costs while giving your garden exactly what it needs.
Here’s the thing: rainwater is naturally soft, free of chlorine and other chemicals, and your plants absolutely love it. Plus, you’re already paying for the roof over your head—why not put it to work collecting water?
Let me walk you through setting up your own system, from picking the right barrel to keeping everything running smoothly. you might also like our guide on DIY Rain Barrel System: Collect Water and Cut Your Bills.
Why Bother Harvesting Rainwater?
I’ll be honest—when I first heard about rain barrels, I thought they were just for hardcore environmentalists. Then I actually looked at my summer water bills.
The money adds up fast. Most gardeners who install even a basic collection system see their irrigation costs drop by 30-50%. If you’ve got a vegetable garden or lots of containers, the savings can be even bigger.
But there’s more to it than just saving money. Rainwater doesn’t have the same minerals and additives as tap water. You know how some plants get those crispy brown leaf tips? That’s often from chemicals in city water. Rainwater sidesteps all of that.
And frankly, there’s something satisfying about watering your tomatoes with rain you collected yourself. It just feels right.
Rain Barrels vs. Bigger Tanks: What Do You Actually Need?

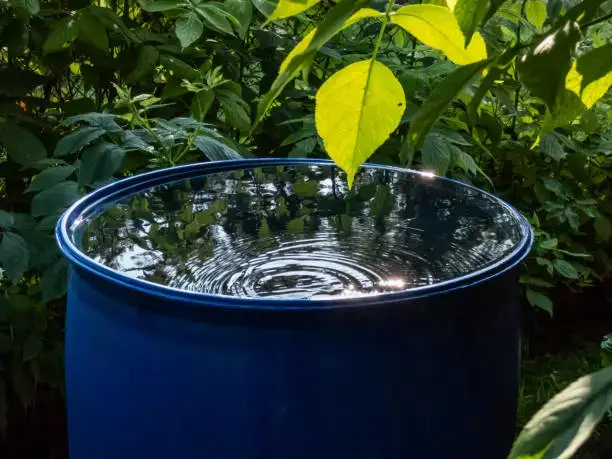
Most people start with a rain barrel, and that’s usually the smart move.
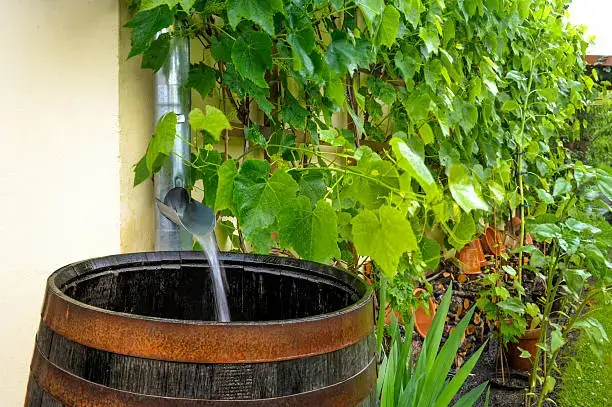
Starting With a Rain Barrel
A basic barrel holds about 50-80 gallons. That might not sound like much, but consider this: just one inch of rain on a 1,000 square foot roof gives you 600 gallons of water. Your barrel will fill up faster than you think.
Barrels work great if you:
- Have a small to medium-sized garden
- Want to test the waters (pun intended) without spending much
- Don’t have a lot of space
- Live somewhere with fairly regular rainfall
You can pick up a rain barrel for $50-150, sometimes less if your city offers rebates. Many do, actually—worth checking with your local water department.
The downside? They fill up during a good storm and empty out pretty quickly when you’re watering. If you’ve got a large garden, one barrel might leave you wanting more.
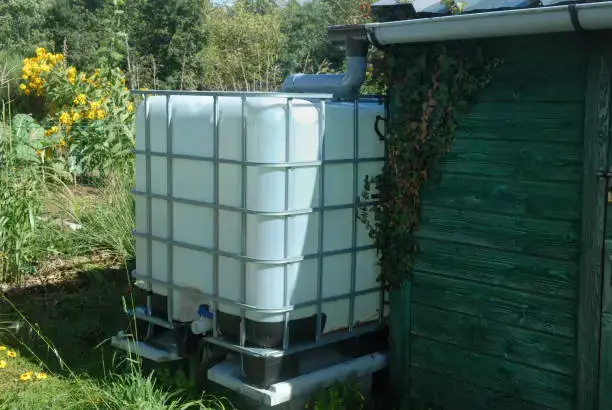
When to Consider a Bigger Tank
Once you’ve used a barrel for a season, you’ll know if you need more capacity. Tanks that hold 200-1,500 gallons make sense for bigger properties or if you’re growing food seriously.
The materials vary. Most people go with polyethylene plastic tanks—they’re affordable, light enough to move if needed, and they hold up well. Metal cisterns look nice and last forever if they’re properly lined. Fiberglass costs more but practically lasts a lifetime.
Just remember: bigger tanks need proper foundations. We’re talking concrete pads or seriously compacted gravel. Water is heavy—about 8 pounds per gallon—so a full 500-gallon tank weighs over two tons.
Linking Multiple Collection Points
Here’s a trick that works really well: instead of one giant tank, some folks connect several barrels around their property. This spreads out the collection and gives you water sources closer to different garden areas.
You can daisy-chain barrels together or run lines from multiple downspouts to a central tank. It depends on your setup and how handy you are with basic plumbing.
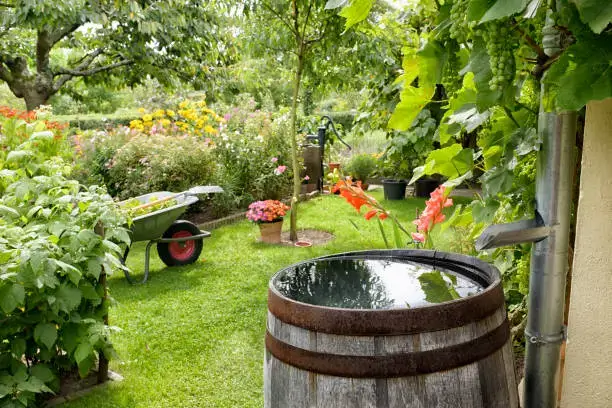
Where Should You Put It?
Location matters more than you might think.
Look at your gutters first. Any downspout can work, but some collect way more water than others. Corner downspouts often drain the biggest roof sections and they’re usually out of the way.
Try to pick a spot that gets some shade. Full sun encourages algae growth, and nobody wants to deal with that. Even partial shade helps—maybe under a tree that drops its leaves in fall so you get shade in summer and sun in winter.
Height gives you pressure. Every foot of elevation adds about half a PSI of water pressure. It’s not much, but when you’re relying on gravity to push water through a hose, every bit helps. A simple platform made from cinder blocks or treated lumber can make a real difference.
And think about distance. Sure, you can run a hose 100 feet to your garden, but the pressure drops and it’s kind of a pain. Try to place your barrel within 50-75 feet of where you actually water.
What You’ll Need to Get Started
The shopping list is pretty straightforward:
The essentials:
- A food-grade barrel or tank
- A diverter kit (this connects your downspout to the barrel)
- A spigot or valve at the bottom
- Overflow hose or piping
- Screen mesh to keep debris and mosquitoes out
- Something to elevate the barrel (cinder blocks work fine)
Nice to have but not required:
- A first-flush diverter (automatically dumps the dirtiest water)
- Better gutter guards
- Extra connectors if you’re linking multiple barrels
Most hardware stores carry rain barrel kits with everything included. They’re fine for beginners, though you can often save money buying components separately if you’re comfortable with that.
Putting It All Together
This isn’t rocket science, but measure twice and cut once—especially when you’re cutting into your downspout. Check out our latest tutorial on How to Build a Fire Pit for Cozy Evenings Outdoors.
Start with clean gutters. Seriously, this matters. If your gutters are full of leaves and gunk, that’s all going straight into your clean water supply.
Prep your spot. Make sure wherever you’re putting the barrel is level and sturdy. A wobbly platform plus 400 pounds of water equals a mess you don’t want to deal with.
Cut the downspout. Measure carefully so your diverter sits at the right height. Most diverters need to be positioned just above the top of your barrel. Use a hacksaw for metal or heavy-duty shears for vinyl downspouts.
Install the diverter according to the instructions. They vary by brand, but most use a flexible hose that runs from the diverter into the top of your barrel.
Drill your holes. You’ll need one near the bottom for the spigot and one near the top for overflow. Use the right size bit—the packaging for your spigot and overflow fittings will tell you what size. Wrap the threads with plumber’s tape before screwing things in. Hand-tight is usually enough; don’t hulk out and crack the plastic.
Add screens over any openings. Mosquitoes will find any gap, and you definitely don’t want to be breeding them.
Test it. Run water from a hose into your gutter and watch what happens. Check every connection for leaks. See where the overflow goes. Better to find problems now than during the first real storm.
Keeping Your Water Clean
Rainwater starts out clean, but it picks up whatever’s on your roof—dust, pollen, bird droppings, you name it. Good news is, keeping it reasonably clean isn’t hard.
Check your system every few weeks. Look at the screens, peek inside if you can, make sure nothing’s growing in there. Pull out any leaves or debris.
Clean it out completely once or twice a year. Drain the barrel, scrub the inside with a vinegar and water solution (about 1:3 ratio), rinse well. This keeps algae from building up.
Keep gutters clean. This is probably the single most important thing. Clean gutters mean cleaner water going into your barrel.
Block the light. Algae needs light to grow. Opaque barrels are better than clear ones. If you’ve got a clear or translucent container, consider painting it or wrapping it with something dark.
Mosquitoes are persistent. Any opening bigger than 1/16 inch is an invitation. Fine mesh screens are your friend. Some people also toss in mosquito dunks—little tablets that kill larvae but don’t hurt anything else.
Using Your Collected Water Wisely
Collecting water is only half the game. Using it smart means you’ll have enough when you really need it.
Water in the morning if you can. Less evaporation, and plants have time to dry off before evening (which helps prevent fungal problems). This alone can cut your water use by 20-30% compared to watering in the heat of the day.
Mulch is your secret weapon. A few inches of mulch around your plants keeps moisture in the soil way longer. Wood chips, straw, shredded leaves—whatever you’ve got works.
Think about drip irrigation. You can set up a gravity-fed drip system from your rain barrel. It’s incredibly efficient since water goes straight to the roots instead of spraying everywhere.
When water gets tight, prioritize:
- Anything you just planted (those roots aren’t established yet)
- Container plants (they dry out fast)
- Vegetables, especially when they’re flowering or fruiting
- Your favorite ornamentals
Established shrubs and perennials can usually tough it out. Native plants especially—they’re adapted to your local rainfall patterns.
What to Expect Long-Term
Most rain barrel systems pay for themselves in 2-3 years just from water bill savings. Bigger tanks take longer—maybe 5-7 years—but they also last decades.
There’s also the environmental angle. Every gallon you harvest is one less gallon pulled from aquifers that are dropping in many areas. And you’re reducing runoff, which helps prevent erosion and keeps pollutants out of streams.
People sometimes ask if it adds property value. In water-conscious areas, it can. At minimum, it shows buyers you’ve thought about sustainability and long-term costs.
Getting Started Is the Hardest Part
Look, you don’t need to build an elaborate system with multiple tanks and fancy filters. A single barrel connected to one downspout is a perfectly good start. For more creative ideas, take a look at our post DIY Raised Garden Beds for Maximum Harvest Now.
Give it a season. See how often it fills up, how quickly you use it, whether you wish you had more capacity or if one barrel is plenty.
The first time you water your garden with rain you collected yourself—especially during a dry spell when your neighbors are all running their sprinklers—you’ll get it. It’s practical, it saves money, and honestly, it just makes sense.
Your roof is going to shed water whether you catch it or not. Might as well put it to use.
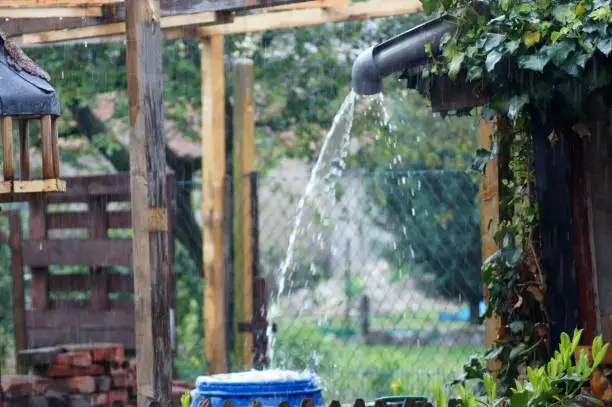
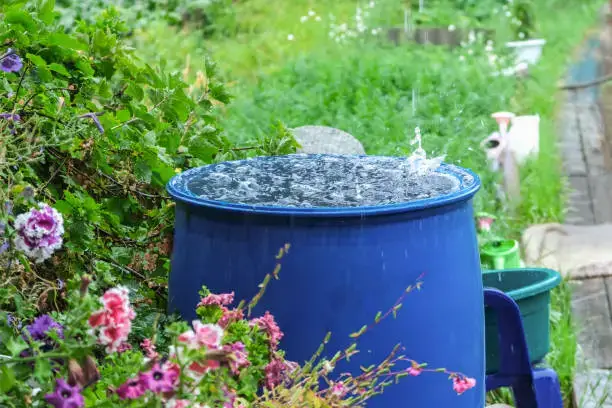
How much rainwater can a small system collect?
Even a modest roof can collect a surprising amount of water. A single rain barrel can fill up quickly after a heavy rain. Over time, this can significantly reduce your need for tap water in the garden