How to Propagate Plants Easily: Cuttings, Division & More
Table of Contents
Why Bother Learning Plant Propagation?
How to Propagate Plants
You know that feeling when you’re at the garden center and realize a single Monstera costs as much as your grocery budget? Or when your friend has the most gorgeous Pothos you’ve ever seen and you’d do anything for a piece of it?
That’s where propagation comes in.
It’s basically making new plants from ones you already have. Sounds complicated, but it’s honestly not. I’ve seen complete beginners pull this off on their first try with nothing more than a jar of water and a pair of scissors.
The best part? You’ll save a ton of money and can actually share plants with people instead of hoarding them all (though no judgment if you do). The trick is matching the right technique to your plant. Get that part right, and you’re already halfway there. If you’re looking to prevent plant diseases, don’t miss our How to Save Dying House Plants: Expert Tips That Work.
Getting the Basics Right
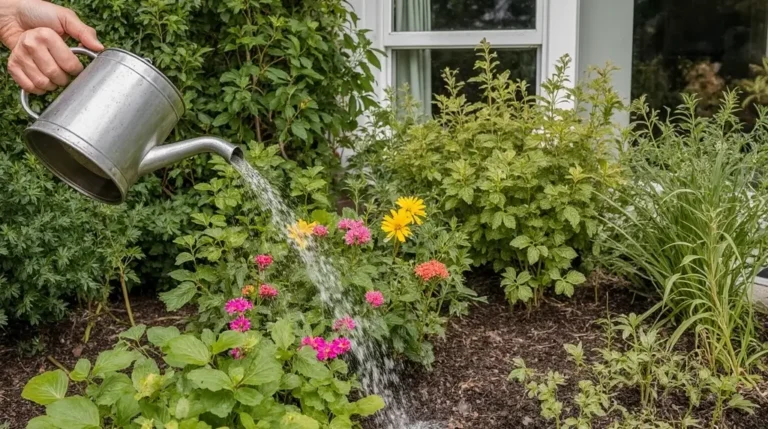
When Should You Actually Do This?
Spring and summer are your sweet spot. Plants are actively growing during these months, which means they’ve got energy to spare for making roots. You’ll see results faster, and honestly, things just work better.
There’s an exception—some woody plants like Forsythia can handle propagation when they’re dormant in fall or winter. But if you’re just starting out, stick with the growing season. Less guesswork that way.
The Node: Your Secret Weapon
Here’s something that’ll instantly improve your success rate: every cutting needs a node.
A node is that little bump on the stem where leaves come out. Doesn’t look like much, but that’s where roots form. No node? No roots. Period. I’ve watched people struggle for weeks with beautiful cuttings that had zero chance because they didn’t have a node.
Take a close look at any stem and you’ll spot these bumps every few inches. That’s what you’re after.
Pick Healthy Plants to Start With
This should be obvious, but choose parent plants that look good. Strong growth, vibrant leaves, no signs of stress.
Think about it—a struggling plant is already having a hard time keeping itself alive. It doesn’t have extra resources to put toward making roots for a cutting. Go with plants that are thriving, and you’re stacking the odds in your favor.
Four Methods That Actually Work
Different plants need different approaches. Here’s what you should know about each one:
Stem Cuttings
- Works great for: Pothos, Philodendron, Mint, Basil, most succulents
- Difficulty: Beginner-friendly
- Timeline: 2-8 weeks until you have a new plant
- Why it’s popular: Easy to do, easy to watch progress
Root Division
- Works great for: Snake Plants, Hostas, ferns, anything that grows in clumps
- Difficulty: Simple once you see how it’s done
- Timeline: You get established plants immediately
- Why it’s popular: Instant results, no waiting around
Layering
- Works great for: Jasmine, Ivy, woody vines with flexible stems
- Difficulty: Low risk, just takes patience
- Timeline: 4-12 weeks
- Why it’s popular: The stem stays attached to the parent plant until roots form
Seeds
- Works great for: Tomatoes, Peppers, Marigolds, Zinnias
- Difficulty: A bit more involved
- Timeline: 1-4 weeks to sprout
- Why it’s popular: Nature’s original method, gives you lots of plants at once
Most people start with stem cuttings. They’re forgiving, and there’s something satisfying about watching roots appear from what looks like just a stick in water.
Stem Cuttings: The Method Most People Start With
This is probably what you came here to learn. Good choice—it works for tons of popular houseplants. Learn how to balance nutrients for your plants in our Best Fertilizers Plants for Indoor and Outdoor.
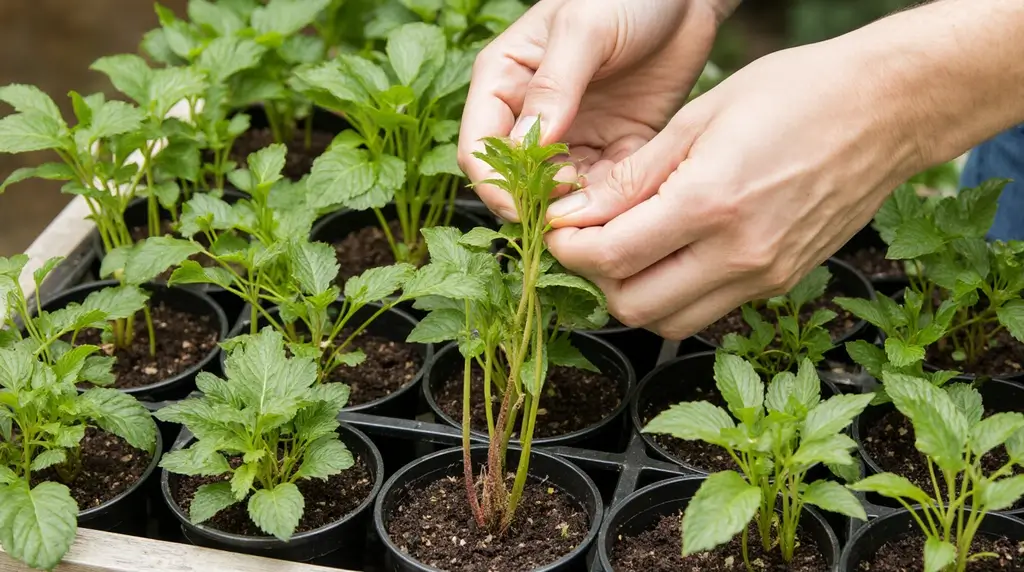
How to Take a Cutting
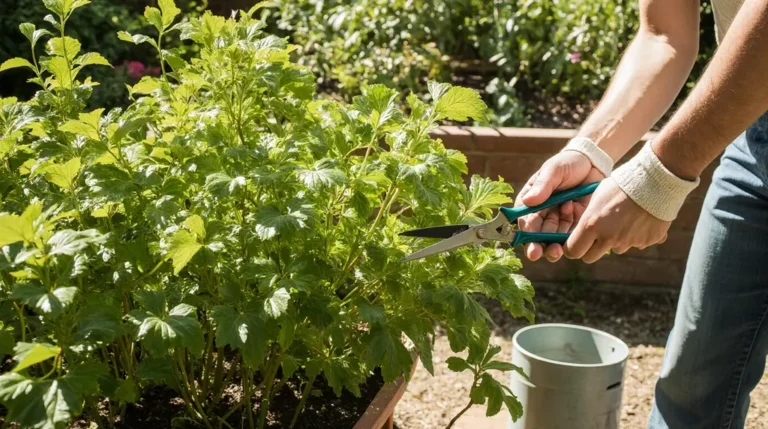
Clean your tools first. Wipe your scissors or pruners with rubbing alcohol. Sounds fussy, but dirty blades introduce bacteria that cause rot. Takes five seconds and prevents most problems.
Make your cut a quarter-inch below a node. Angle it at about 45 degrees—this gives you more surface area for roots to emerge. Aim for cuttings around 4-6 inches long.
Remove the bottom leaves. Just pinch off the lowest one or two. Leaves underwater turn to mush and create a bacterial mess that kills everything. Keep the top leaves though—the plant needs those for photosynthesis.
Rooting hormone is optional. If you’re working with something woody or known to be difficult, dip the cut end in rooting hormone powder. For easy plants like Pothos? Skip it. Totally unnecessary.
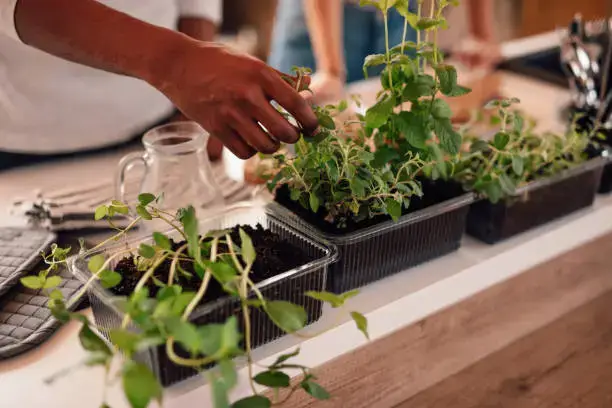
Water vs. Soil: Which Is Better?
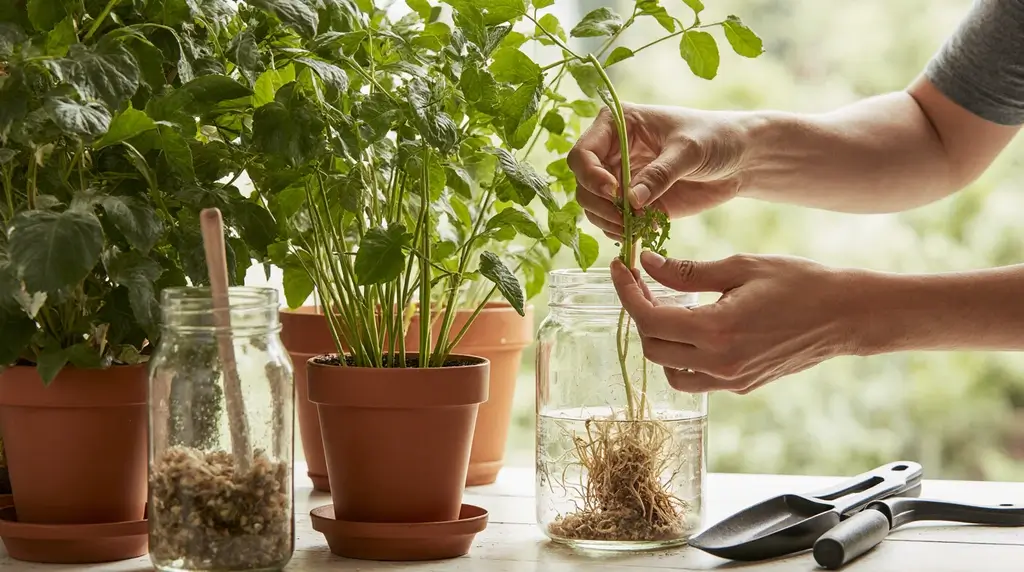
Water propagation lets you see what’s happening. Put your cutting in a clear container and watch roots develop—it’s genuinely cool to see. Change the water every few days to keep it fresh. When water gets cloudy or develops a film, that’s bacteria building up.
Soil propagation often produces stronger roots because they develop in the medium they’ll live in long-term. Use a light, well-draining mix—something with perlite and peat moss works well. Keep it moist but not soggy.
Both methods work. Water is more visual, soil is more practical. Your call.
Special Focus: Monstera Deliciosa
Monsteras have taken over Instagram, home decor magazines, and probably your wishlist. They’re also one of the most-searched plants for propagation advice, so let’s talk specifics.
What You Need to Know
Monstera cuttings need a node and at least one leaf. The leaf handles photosynthesis while the node makes roots. Those weird aerial roots hanging off the stem? They’re actually helpful here—they adapt quickly to water or soil.
Water Propagation for Monstera
Put your cutting in a clear container with enough water to cover the node and any aerial roots completely. Change the water weekly or whenever it looks murky.
You should see tiny white bumps forming at the node within 2-4 weeks. Those develop into proper roots over the next few weeks. Be patient—Monstera roots take their time but they’re reliable.
Air Layering: The Cautious Approach
Air layering sounds complicated but it’s actually brilliant for expensive or sentimental plants. You force roots to grow before cutting the stem from the parent, so there’s almost no risk.
Find a node, make a small shallow cut through the outer layer, pack wet sphagnum moss around it, and wrap the whole thing in clear plastic. Secure it with twist ties.
Wait until you see roots about an inch long through the plastic. Then—and only then—cut below the roots and pot your new plant.
Moving Water Roots to Soil
Once your roots hit 2-4 inches long, it’s time to pot up. Use a chunky soil mix with bark and perlite—Monsteras are epiphytes in nature and hate dense, soggy soil.
Keep the soil consistently moist for the first couple weeks while those water roots adjust. They’re used to being constantly wet, so soil feels different to them. The plant might droop a bit during this transition. That’s normal. It’ll perk up.
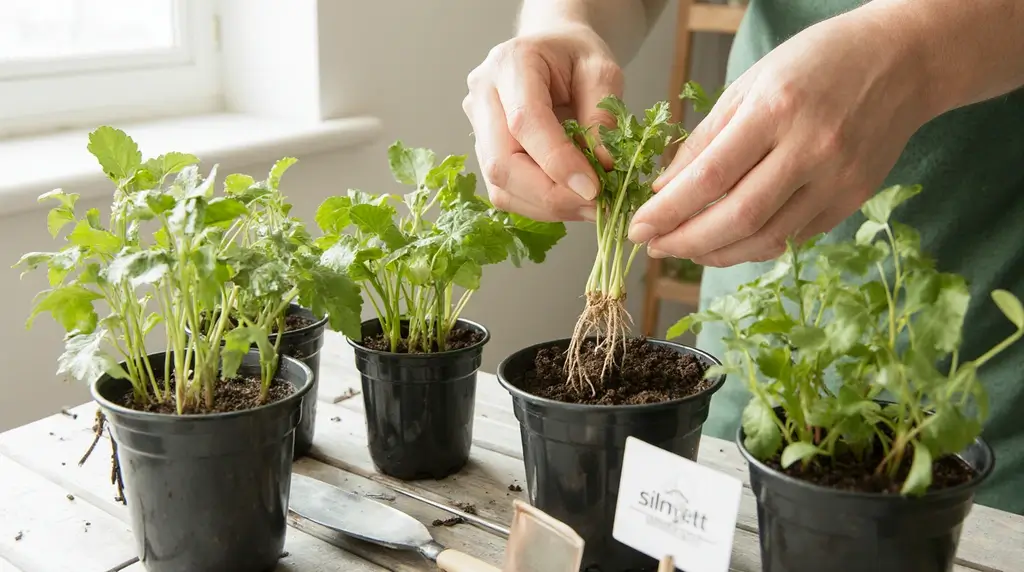
Root Division: Instant Plants
Division doesn’t get enough credit. You pull a plant out of its pot, split it apart, and boom—multiple plants. No waiting for roots to develop.
When to Divide
Any plant that grows in a cluster is fair game. Snake Plants, Hostas, ferns, Chives—if it’s got multiple stems coming from the base, you can divide it.
Signs it needs dividing: roots coming out the drainage holes, water running straight through without soaking in, or the center looking sad while the edges look great. Division often revitalizes plants that have gotten too crowded.
How to Actually Do It
Get the plant out of its pot. Sometimes you need to squeeze the pot or run a knife around the edge to loosen things up.
Look at the root ball. You’ll usually see natural separation points where the plant wants to come apart. Gently pull these sections apart with your hands. If the roots are too tangled, use a clean knife to cut through decisively.
Each division should be at least fist-sized to have enough roots to support itself. Pot them separately, water well, and you’re done.
Don’t panic if they look a bit wilted for a few days. They’re adjusting. They’ll bounce back.
Why Things Go Wrong (And How to Fix Them)
Stem Rot
Your cutting turns brown and mushy at the base. Usually happens when bacteria build up in old water or when leaves are submerged and rotting.
Fix: Change water every 3-5 days without fail. Double-check that no leaves are touching the water. For soil propagation, make sure your mix drains well.
If you catch it early, cut away the rotted part and start over with fresh water or soil.
Nothing’s Happening
You’ve waited weeks and there’s not a single root in sight.
Usually this means low humidity or not enough light. When the air is too dry, the cutting spends all its energy trying not to dehydrate. It doesn’t have resources left for making roots.
Fix: Cover the pot with a clear plastic bag to trap humidity. Make sure the plant gets bright, indirect light—enough that you could read comfortably nearby, but no direct sun hitting the leaves.
Transplant Shock
You moved your cutting from water to soil and now it looks terrible.
Water roots and soil roots function differently. The transition can be rough.
Fix: Keep the soil more moist than you normally would for the first week or two. Check it daily. The roots need time to adapt to pulling water from a denser medium.
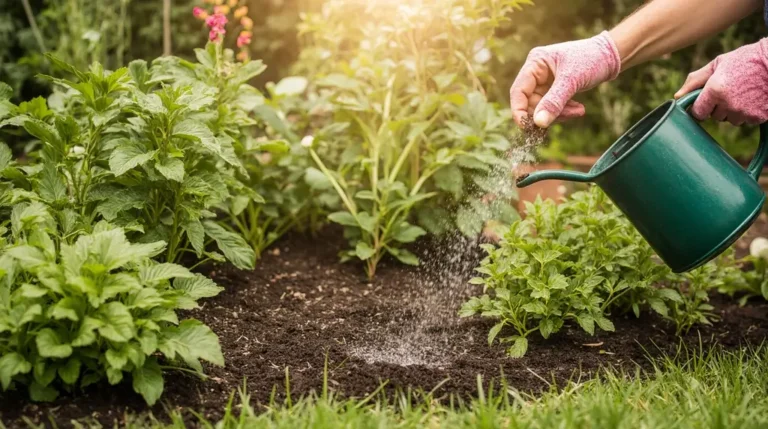
What You Actually Need
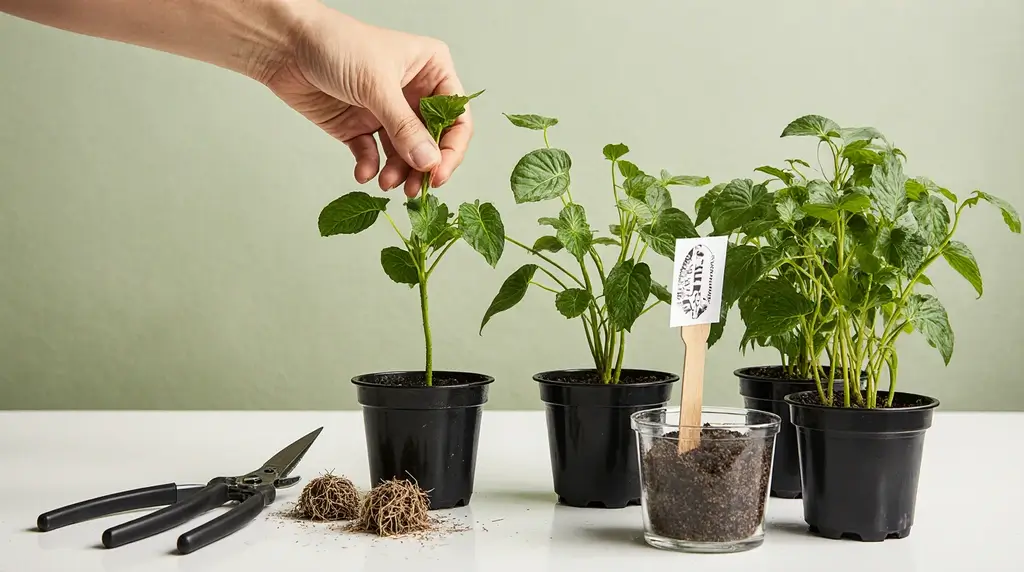
Forget expensive propagation stations and fancy equipment. Here’s what matters:
- Sharp, clean scissors or pruners (bypass style cuts cleaner than anvil)
- Containers—jars, vases, whatever you have
- Growing medium if you’re not using water (potting mix with perlite works great)
- Rooting hormone for stubborn plants (optional)
- Plastic bag or clear container for humidity (extremely helpful)
Most of this stuff is probably already in your house.
Where Plant Propagation Is Heading
While we’re rooting cuttings on windowsills, commercial operations are doing some wild stuff.
Micropropagation and tissue culture let labs create thousands of identical plants from tiny tissue samples—sometimes just a few cells. It’s how nurseries produce disease-free stock on massive scales.
CRISPR gene editing is creating plants that resist common diseases without chemicals. The agricultural biotech market is projected to hit $41.7 billion by 2034, driven largely by these innovations.
What does this mean for home gardeners? The plants we buy are getting tougher and more reliable. That Monstera you’re about to propagate is probably more resilient than varieties from even five years ago.
Just Start
Look around your house right now. You probably have at least one plant that’s easy to propagate. Maybe it’s a Pothos that’s gotten leggy, or a Spider Plant sending out babies, or an overgrown Snake Plant. Want to keep your plants thriving? See our pruning plants guide: How and When to Prune Your Plants.
Pick one. Make a cutting or divide it. Put it in water on a windowsill.
Then wait.
You’ll check it obsessively for the first few days (everyone does). Then you’ll kind of forget about it. And one morning you’ll look over and see roots, and you’ll get it. You’ll understand why people get hooked on this.
Start simple. Try different methods. Some will work better than others, and that’s fine. Each attempt teaches you something about how plants grow and what they need.
The plants you own right now could fill your entire home if you wanted them to. All it takes is learning which stems to cut and where to cut them.
So grab some scissors and get started.
What is plant propagation and why should I try it?
Plant propagation is the process of creating new plants from parts of existing ones, like cuttings or roots. It’s a cost-effective way to expand your garden and share plants with friends while keeping your favorite varieties alive.